Ping Identity
info
For SSO Access - please reach out to sales team.
This article briefs about the steps to configure Auth0 as Identity service provider for NocoDB
NocoDB, Retrieve SAML SSO Configuration details
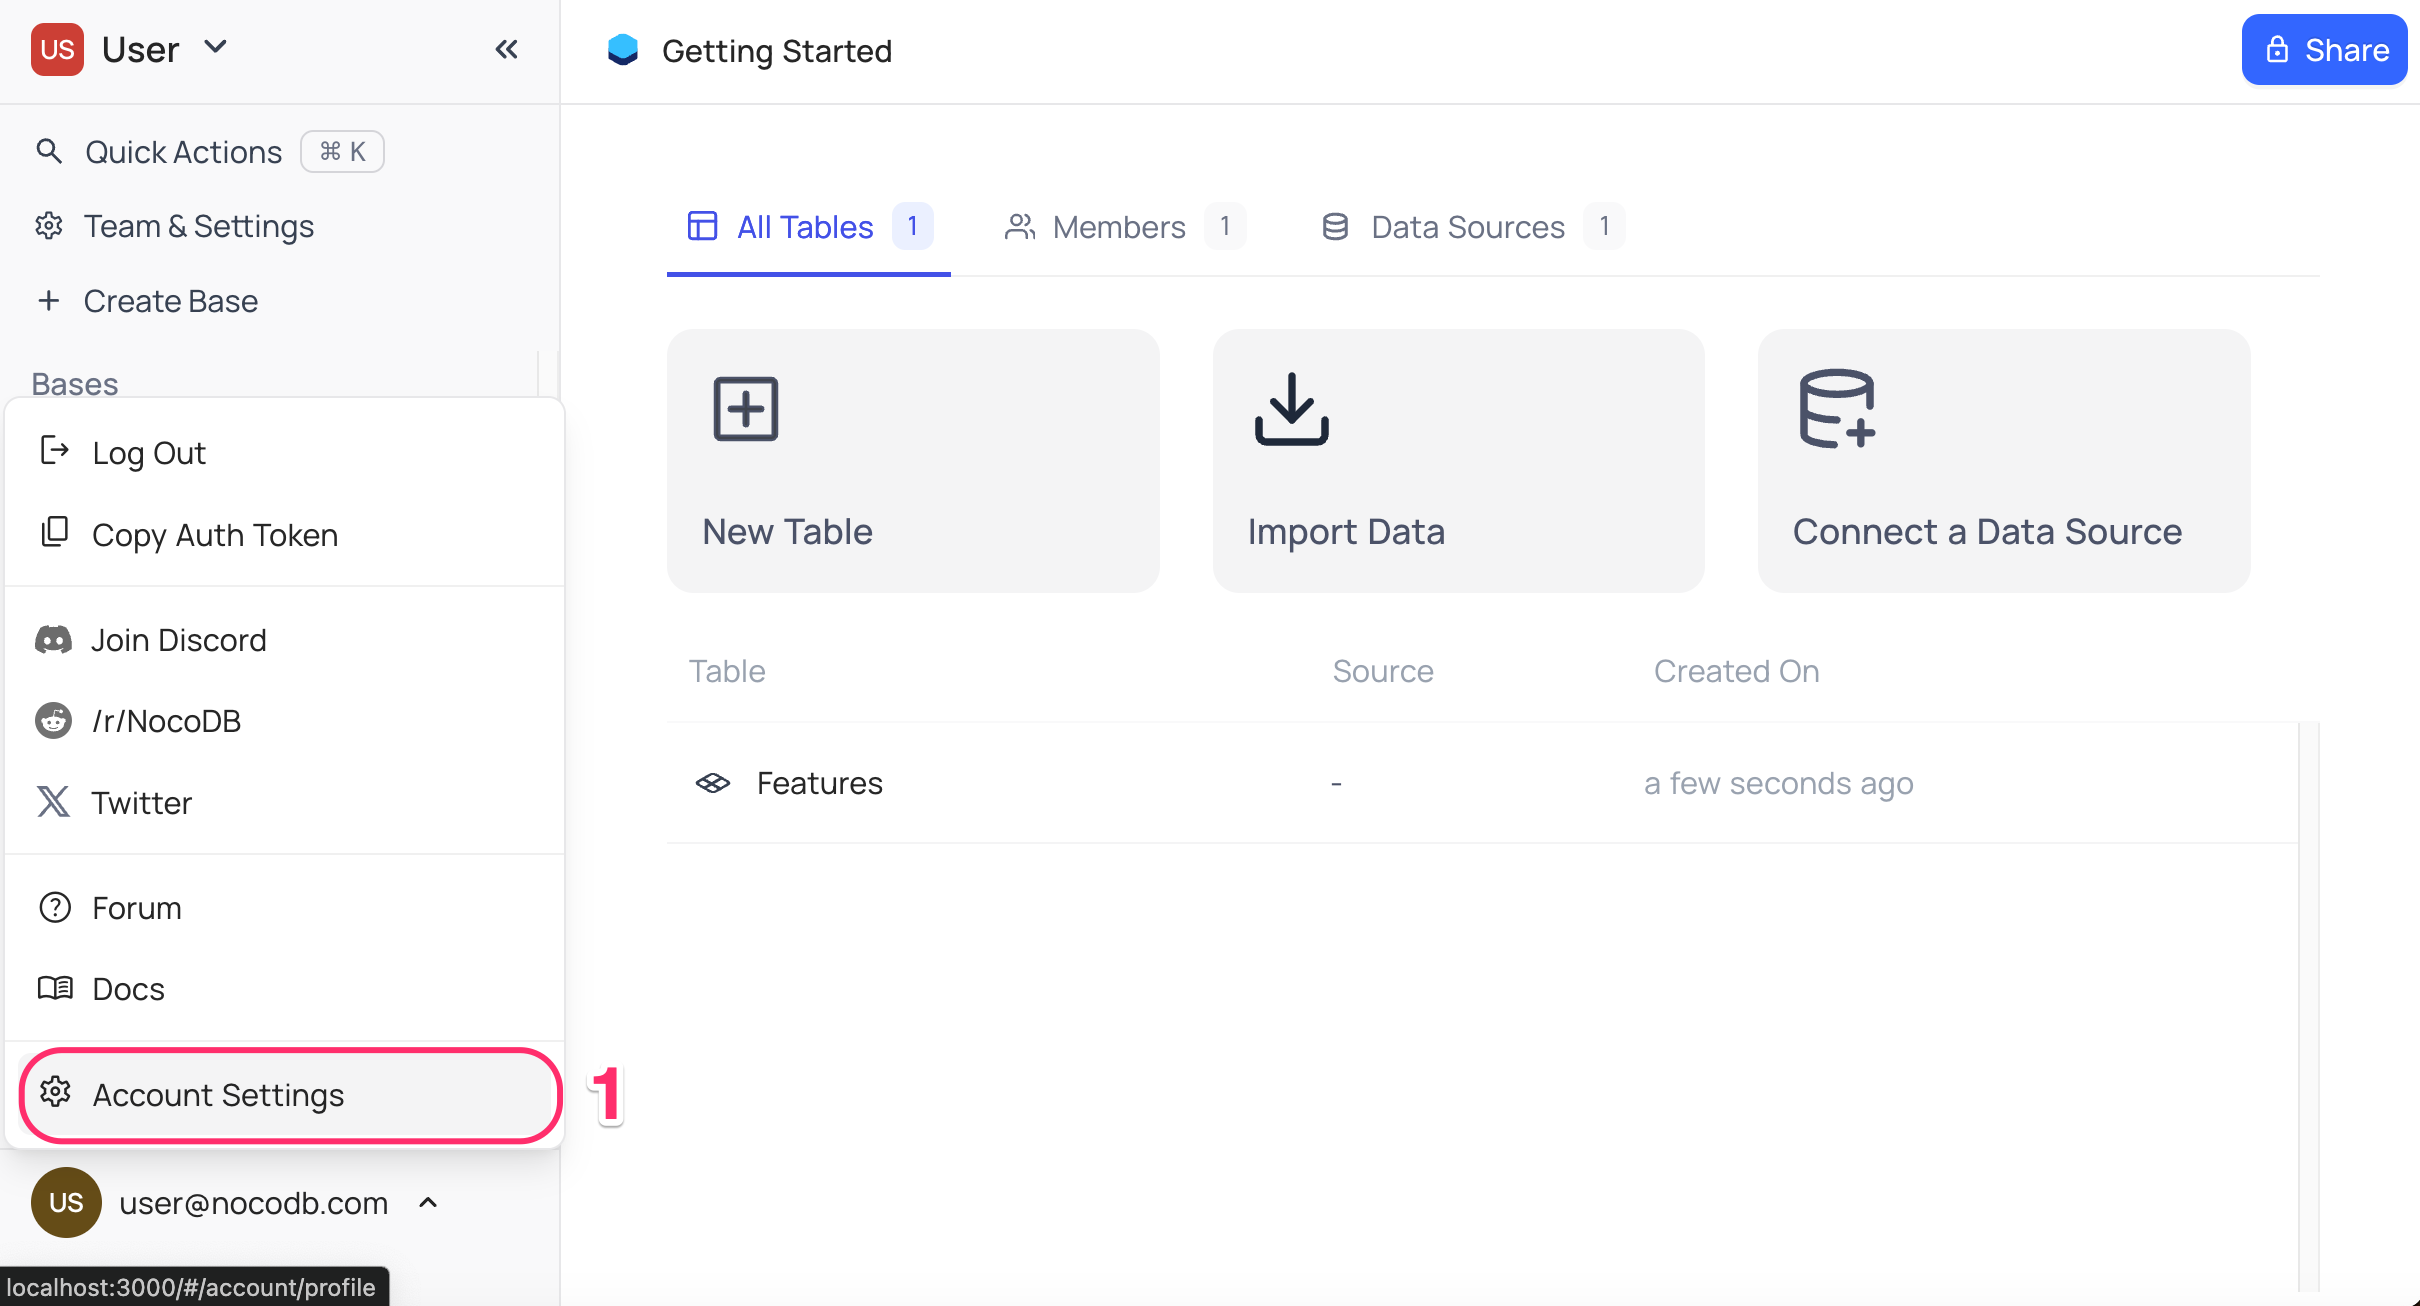
- Go to
Account Settings - Select
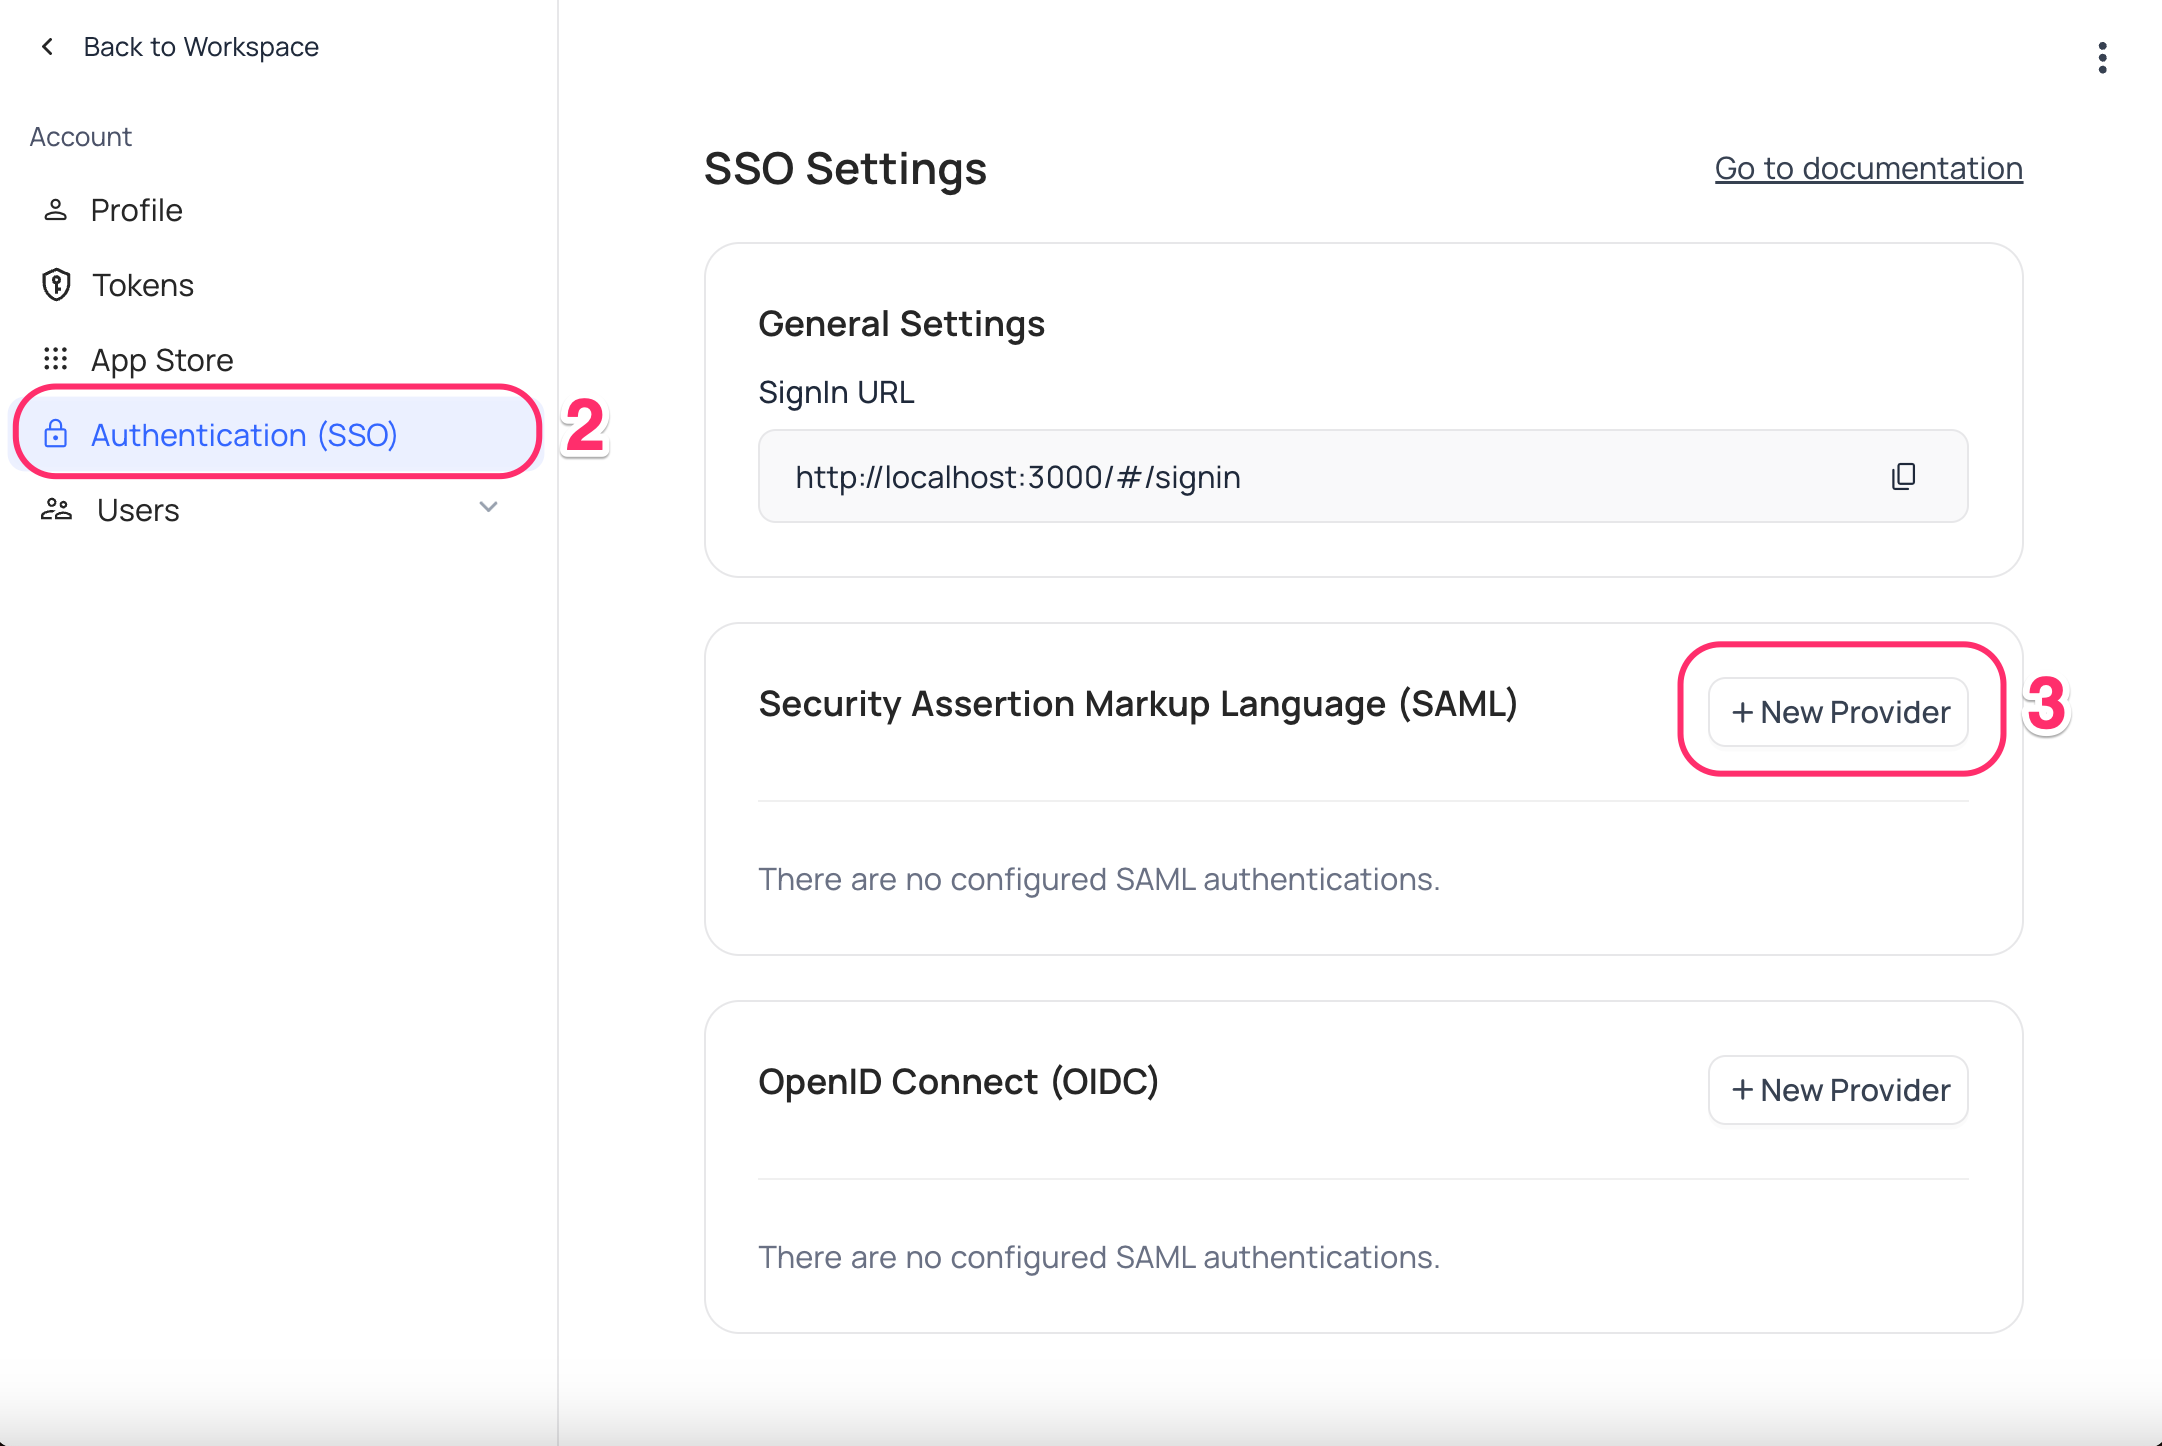
Authentication (SSO) - Click on
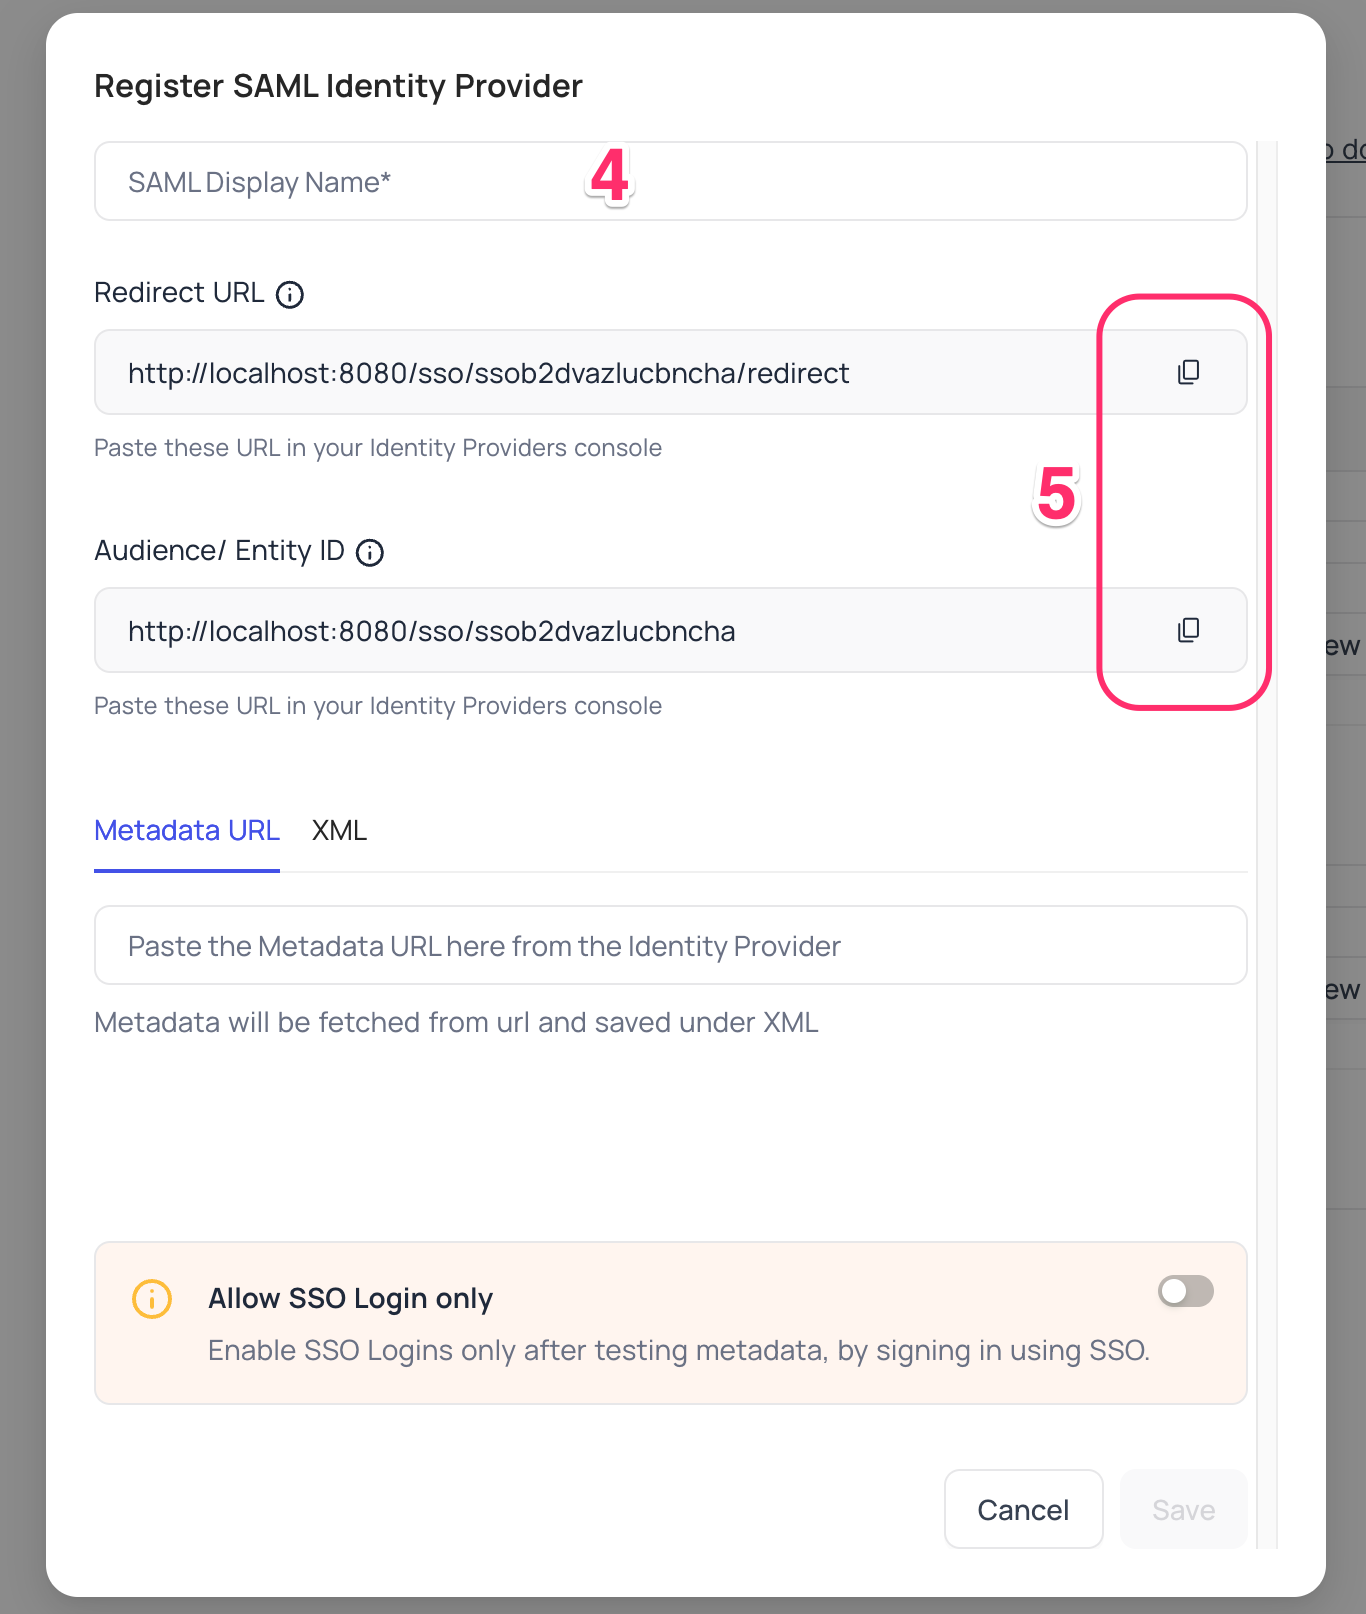
New Providerbutton - On the Popup modal, Specify a
Display namefor the provider; note that, this name will be used to display the provider on the login page - Retrieve
Redirect URL&Audience / Entity ID; these information will be required to be configured later with the Identity Provider
Ping Identity, Configure NocoDB as an Application
- Access your PingOne account and navigate to the homepage.
- Click on
Add Environmentfrom the top right corner. - On the
Create Environmentscreen,- Opt for
Build your own solution - In the
Select solution(s) for your Environmentsection, selectPingOne SSOfromCloud Services - Click
Next - Provide a name and description for the environment,
- Click
Next
- Opt for
- Access the newly created environment and go to
Connections>Applicationsfrom the sidebar. - Within the Applications homepage, initiate the creation of a new application by clicking the "+" icon.
- On the "Add Application" panel:
- Input the application name and description.
- Choose "SAML Application" as the Application Type and click "Configure."
- Within the SAML Configuration panel, opt for "Manually Enter."
- Populate the
ACS URLsfield with theRedirect URLretrieved from step (2) above - Insert the
Audience URIretrieved above in step (2) in theEntity IDfield Save
- In your application,
- Navigate to the
Configurationstab - Copy the
IDP Metadata URL
- Navigate to the
- On your application panel, activate user access to the application by toggling the switch in the top right corner.
NocoDB, Configure Ping Identity as an Identity Provider
- Go to
Account Settings>Authentication>SAML - Insert
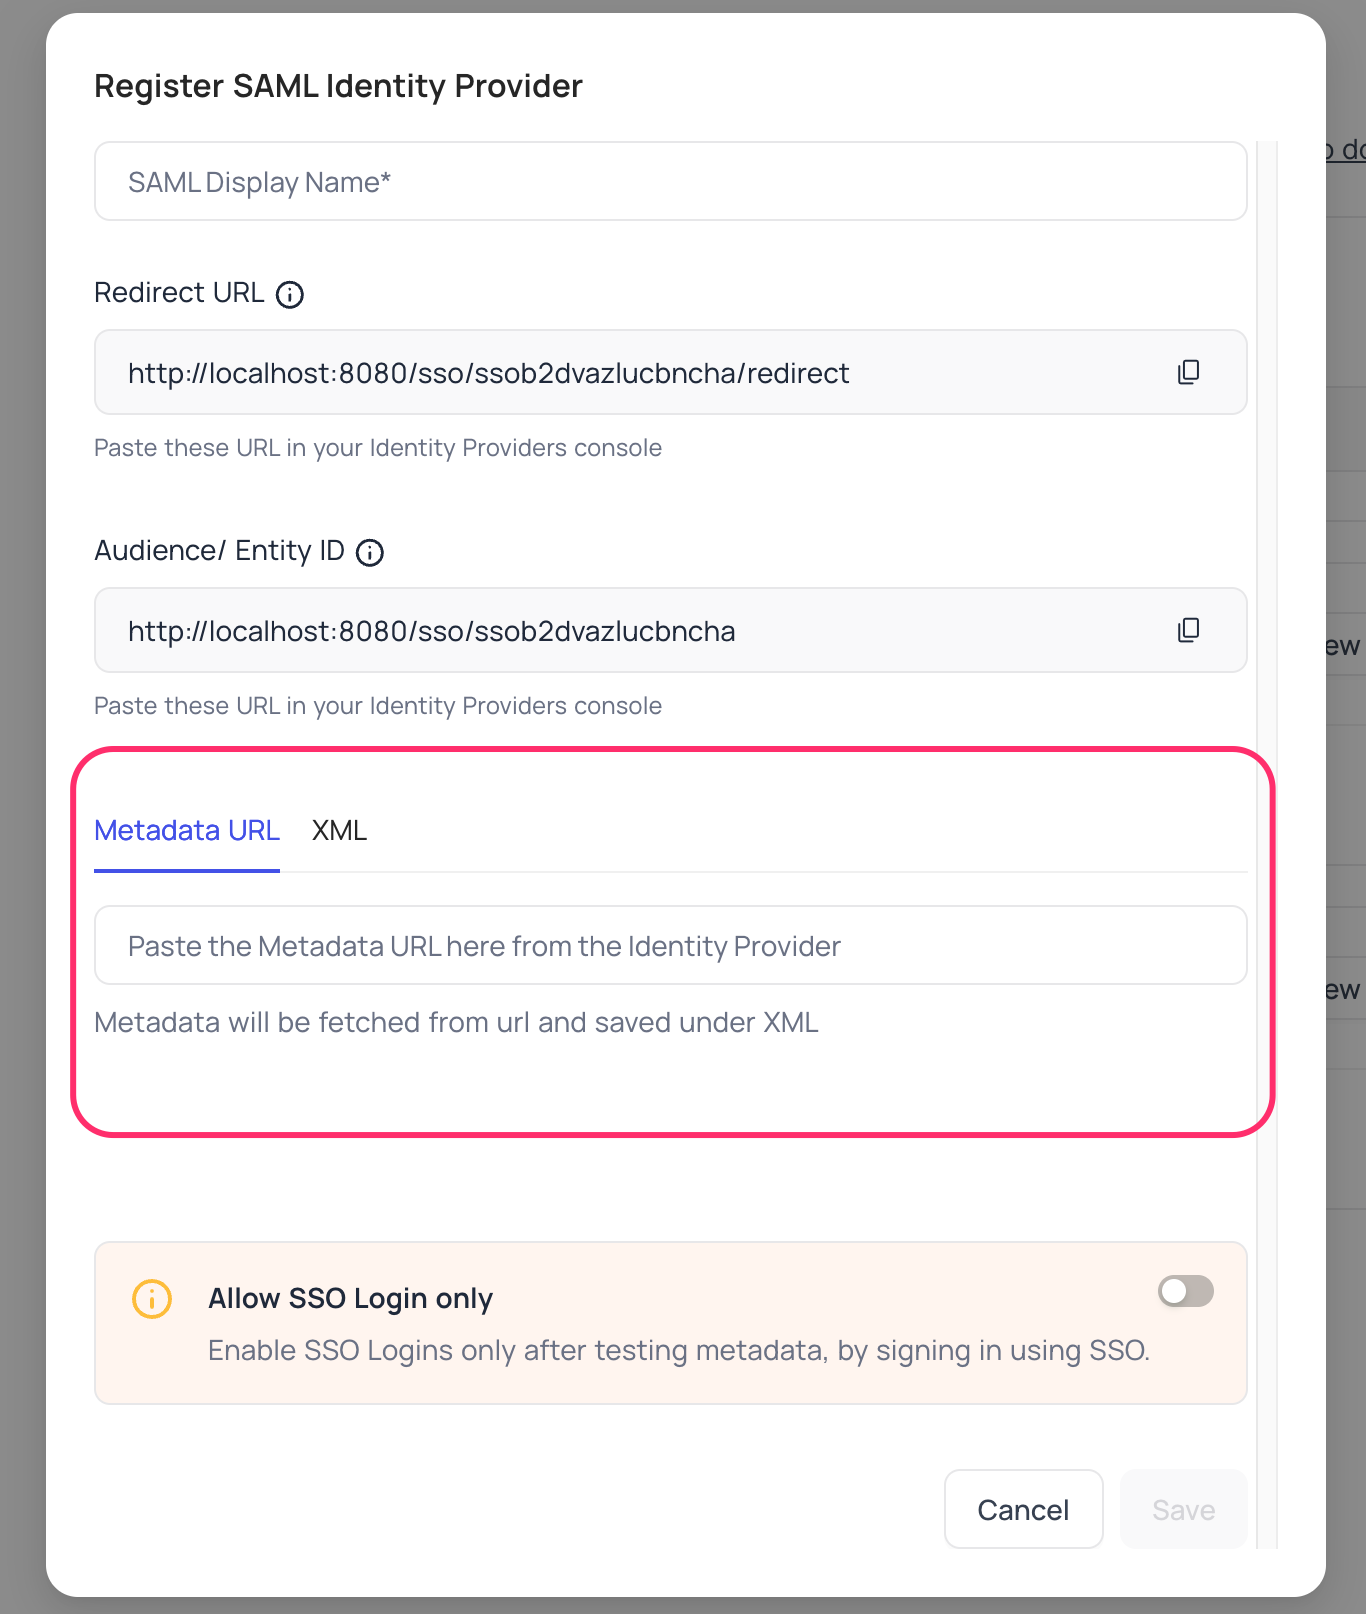
Metadata URLretrieved in step above; alternatively you can configure XML directly as well Save
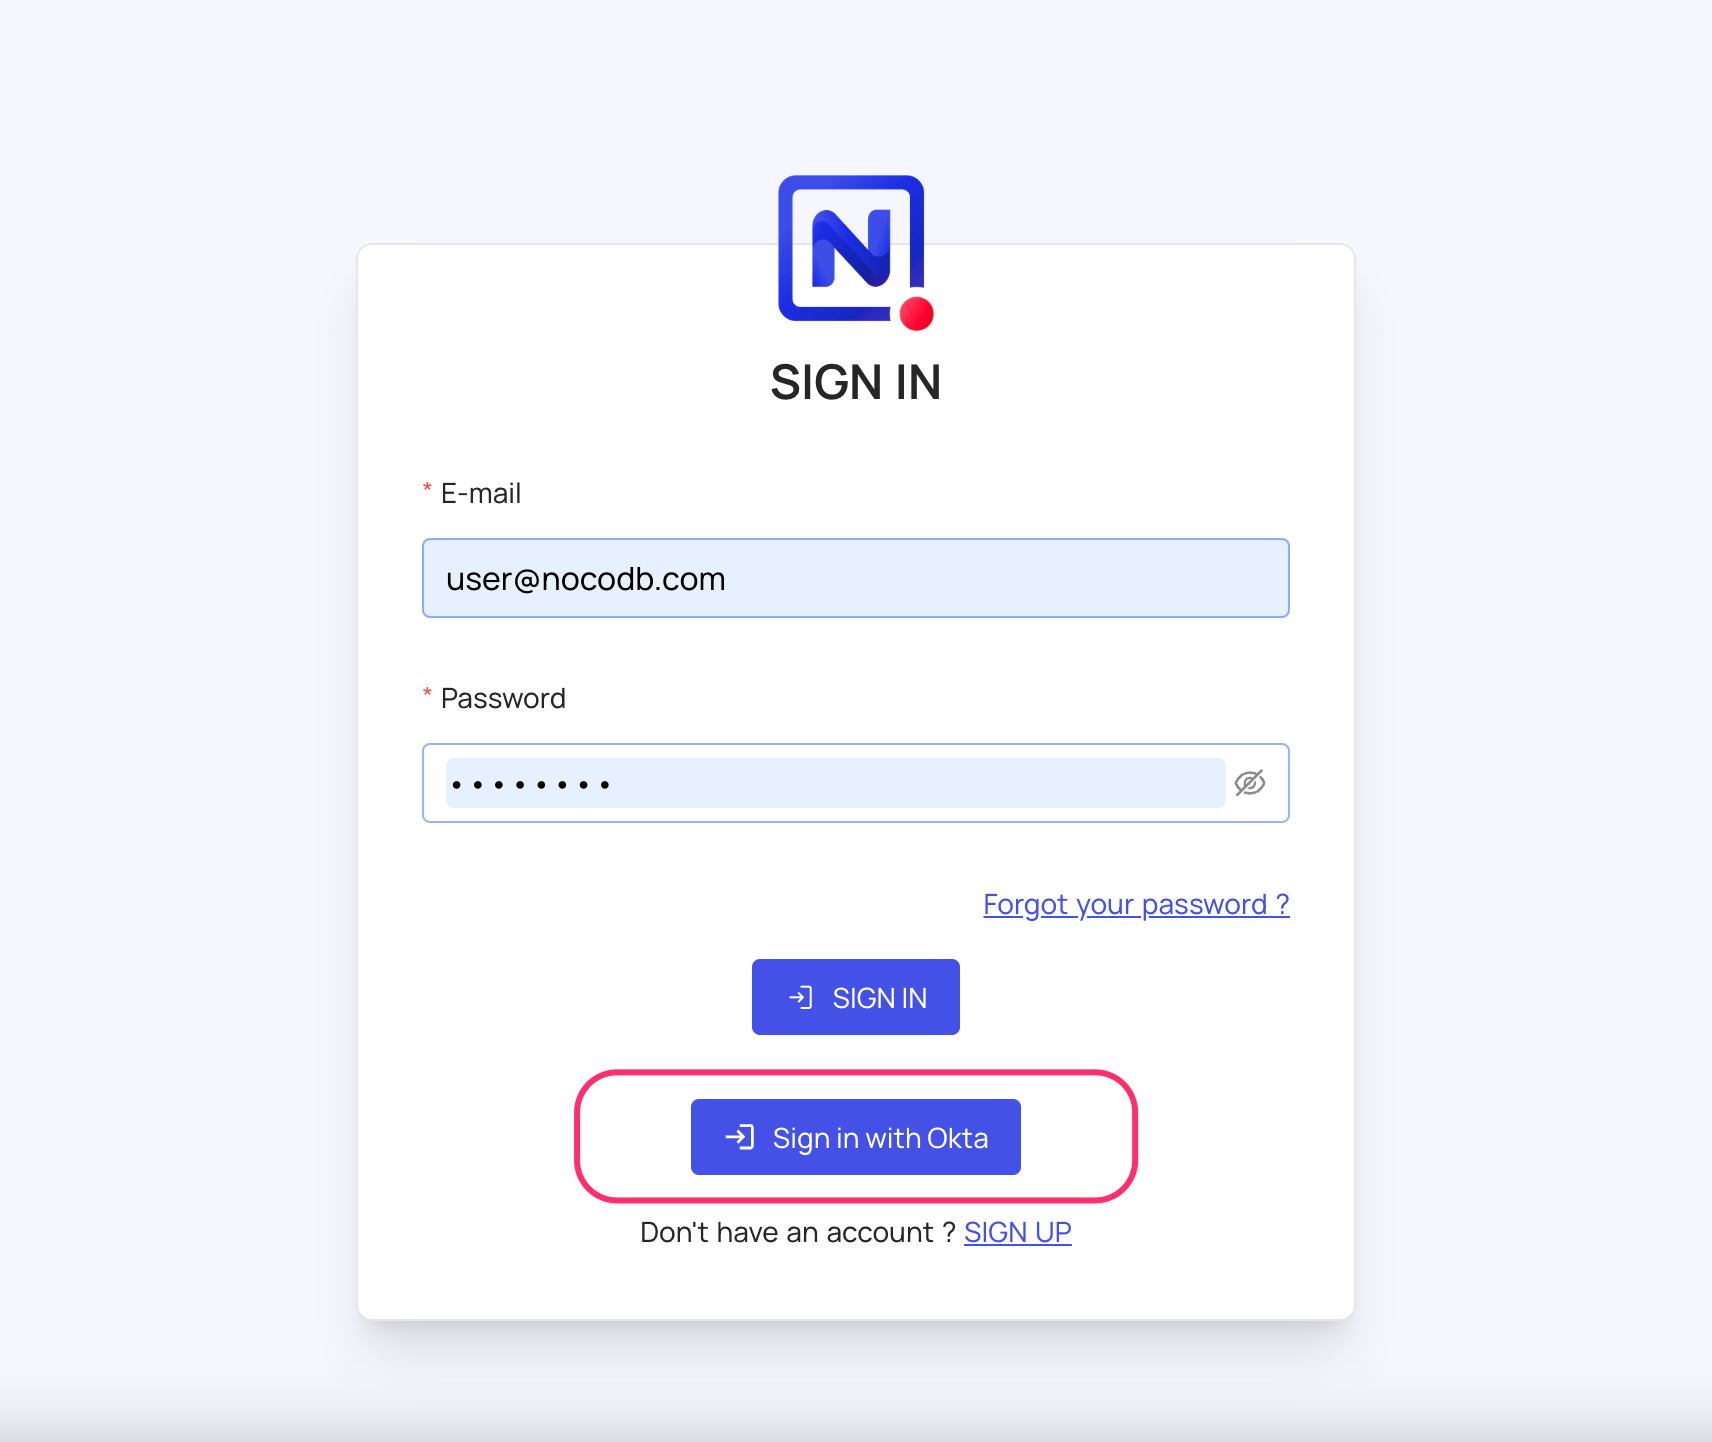
For Sign-in's, user should be able to now see Sign in with <SSO> option.
note
Post sign-out, refresh page (for the first time) if you do not see Sign in with <SSO> option