Actions on base
Base context menu
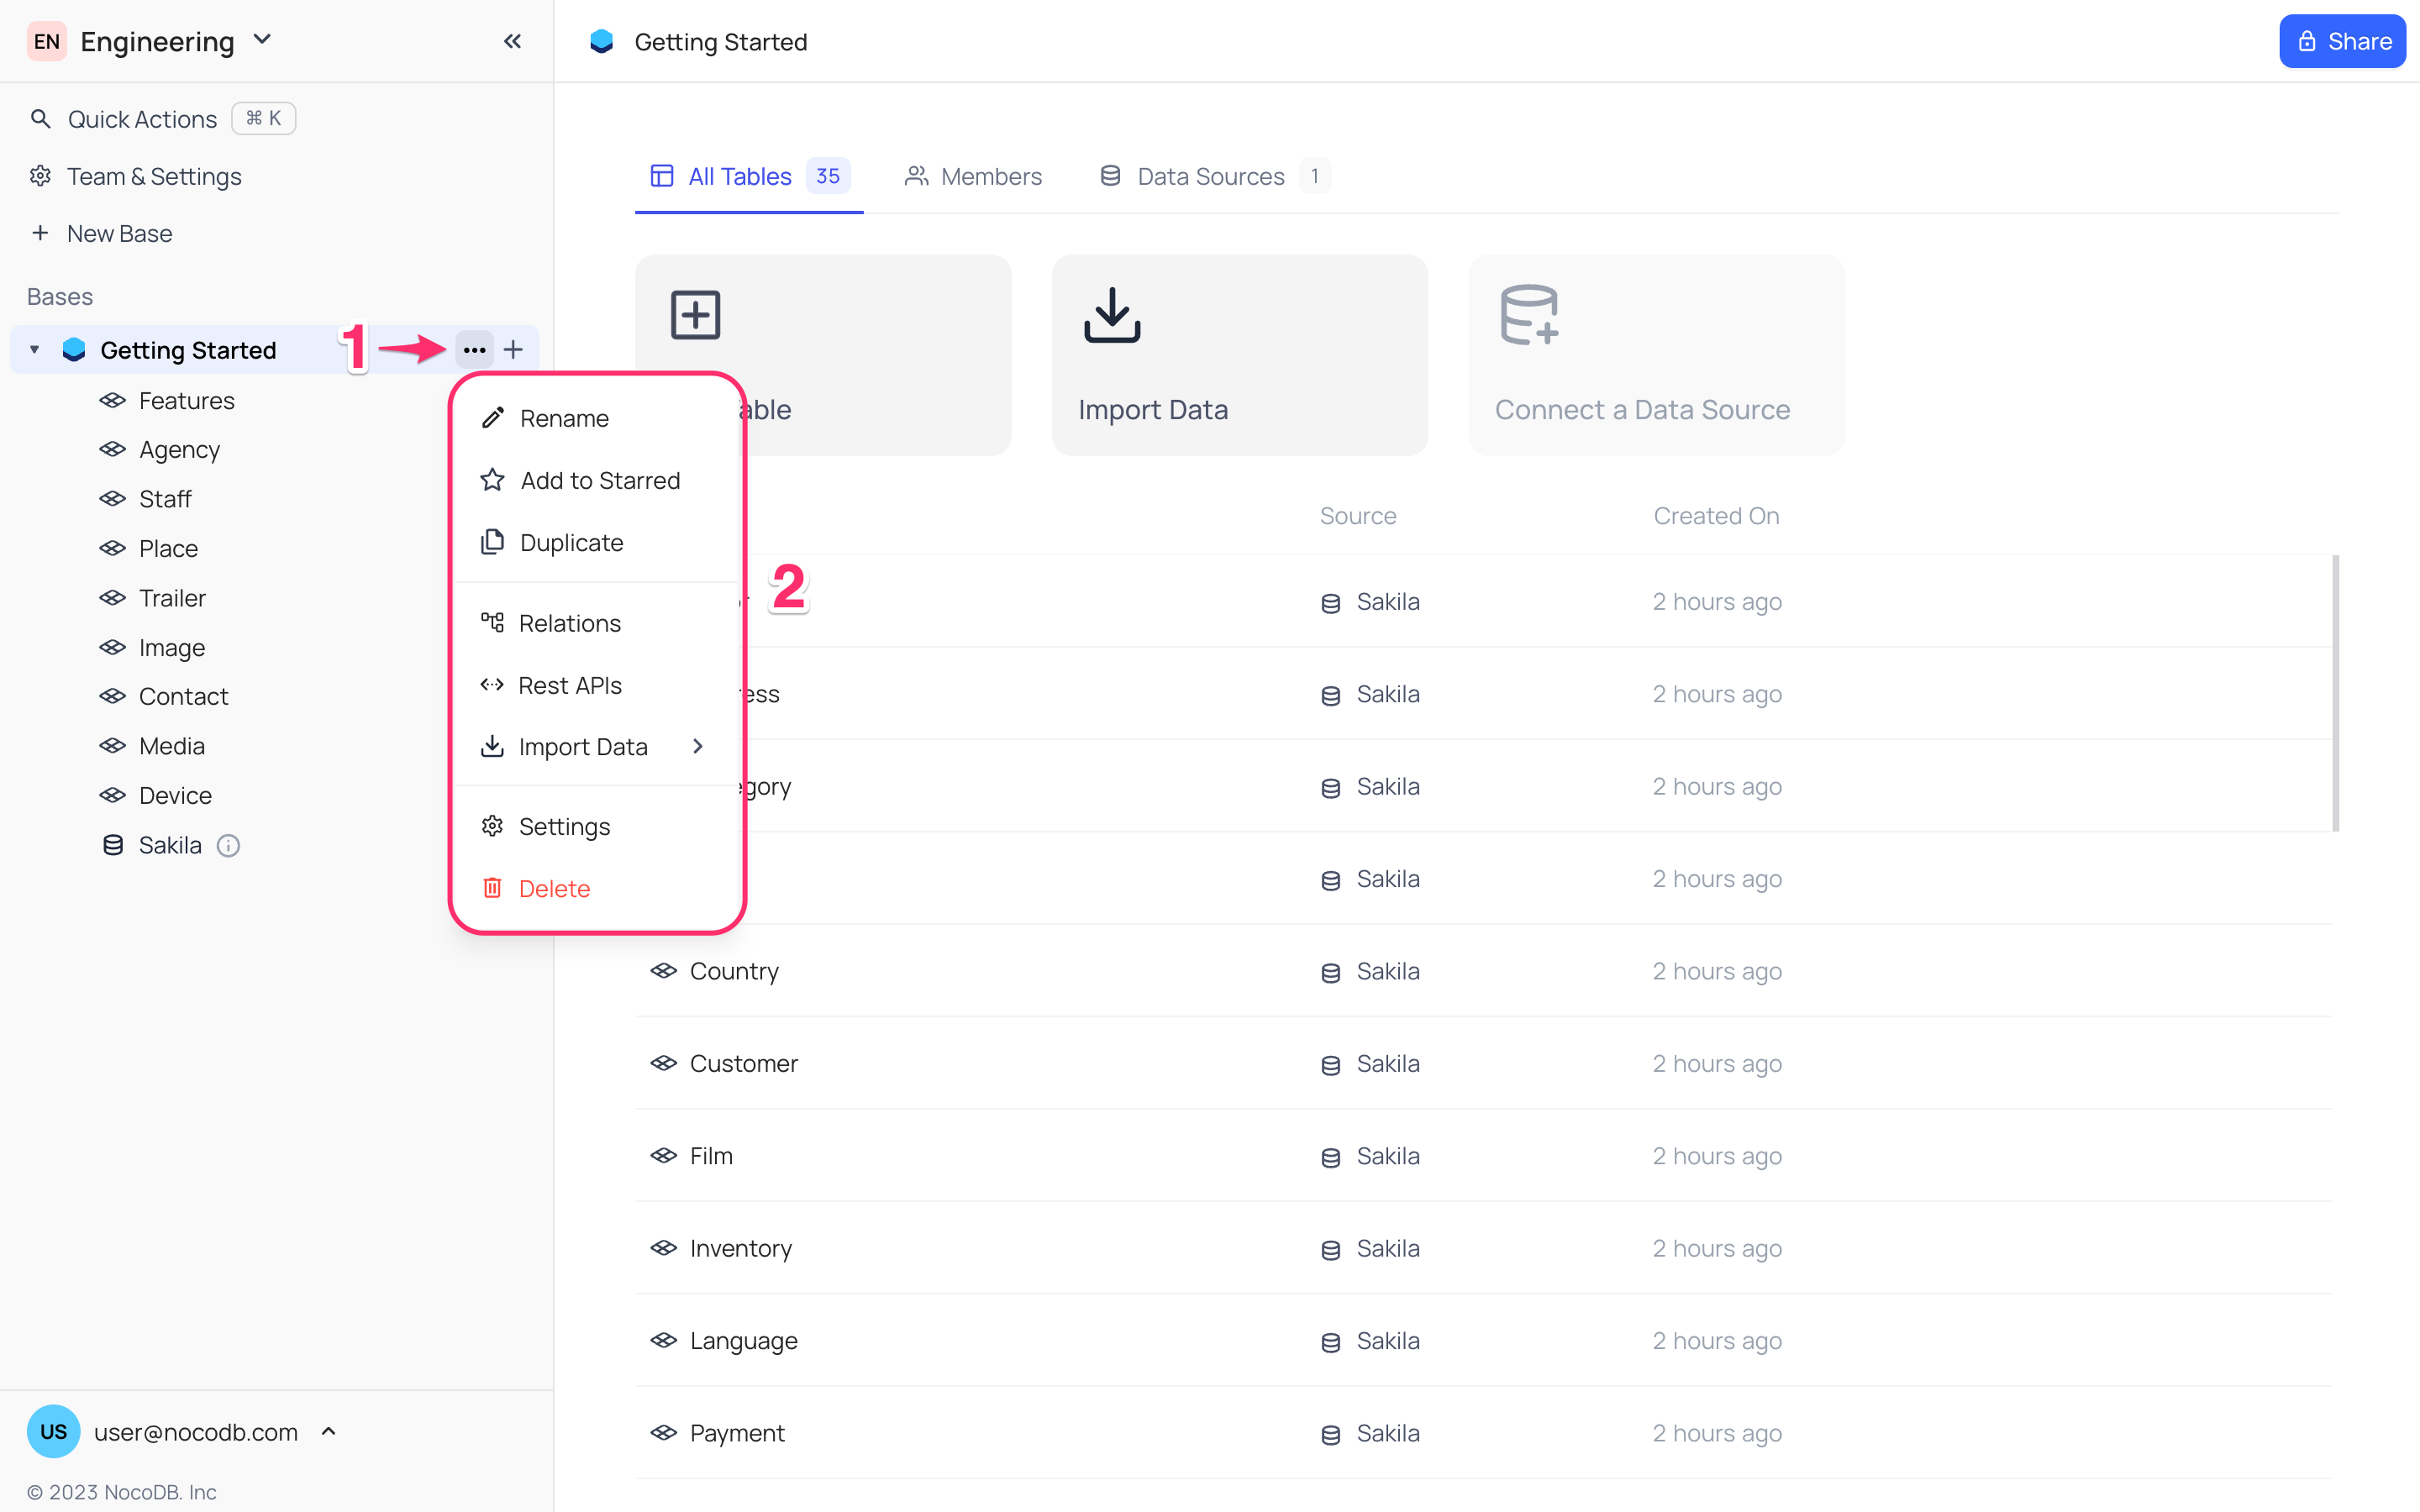
The base context menu offers a selection of swift actions that can be executed on a base. To access this menu, click on the ellipsis symbol (...) located adjacent to the base name within the left sidebar.
Rename base
To modify the name of a base, you can easily do so by following these steps:
- Initiate the base context menu by clicking on the ellipses
...located next to the base name within the left sidebar. - In the dropdown menu that appears, choose the
Renameoption. - Input the new name for the base directly within the field provided and then press the
Enterkey to confirm and save the updated name.
Star base
You can star a base by following simple steps below:
- Initiate the base context menu by clicking on the ellipses
...located next to the base name within the left sidebar. - In the dropdown menu that appears, choose the
Add to Starredoption. - Subsequently, the designated base will be placed into the "Starred" section, conveniently positioned within the left sidebar.

Starred base will appear in the Starred section on the left sidebar.
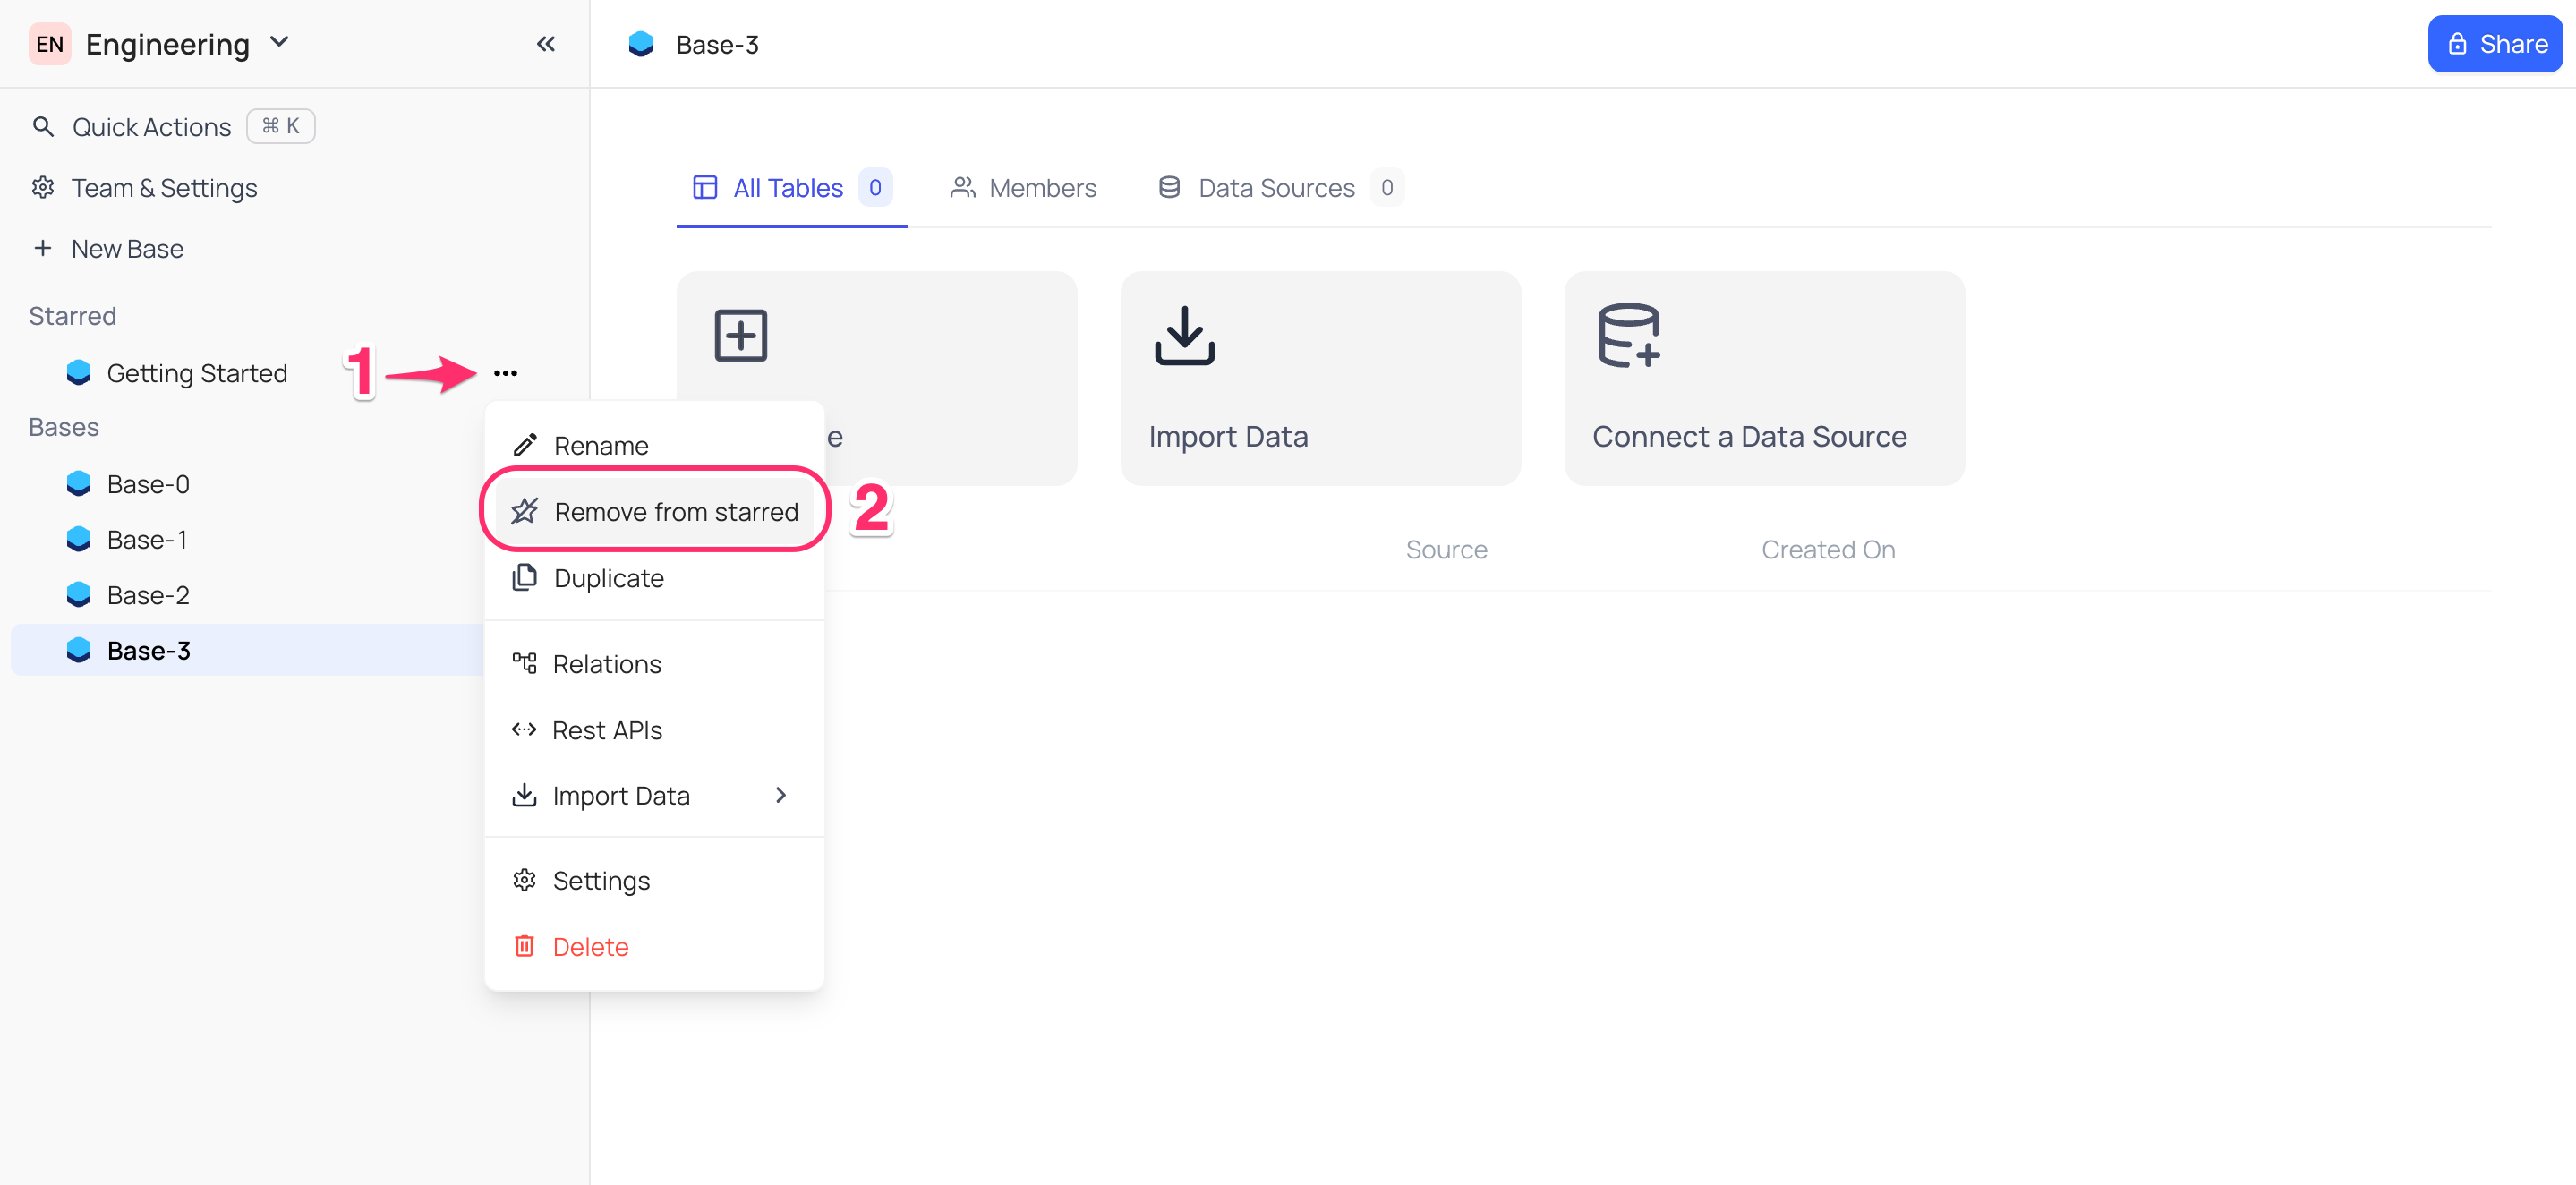
Remove a base from starred list
- Initiate the base context menu by clicking on the ellipses
...located next to the base name within the left sidebar. - In the dropdown menu that appears, choose the
Remove from Starredoption. - Subsequently, the designated base will be removed from the
Starredsection.
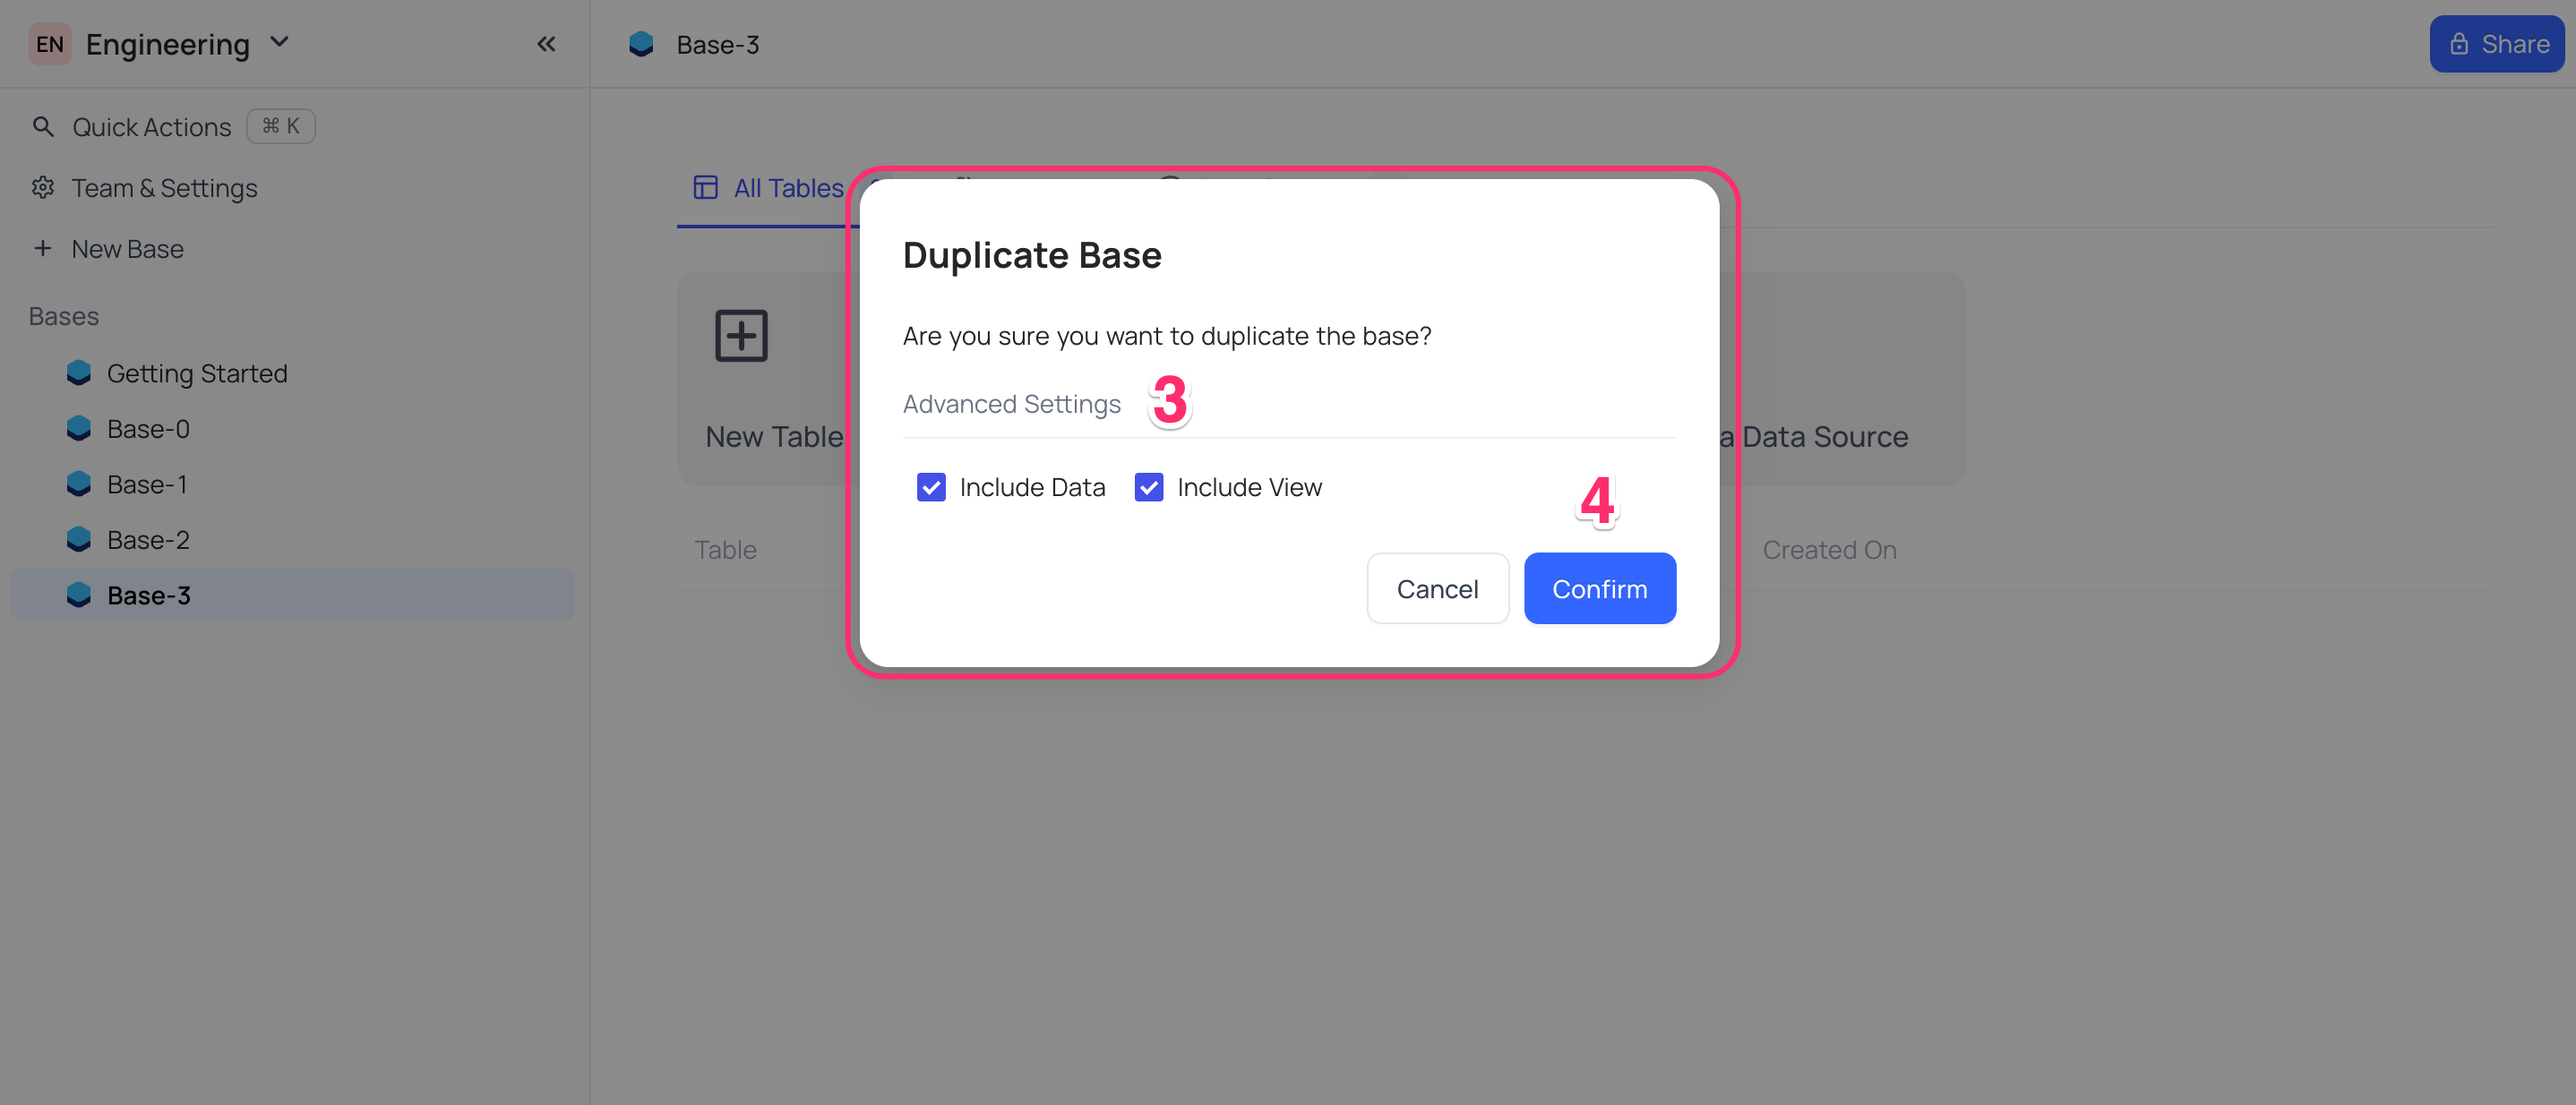
Duplicate base
To duplicate a base, you can follow these straightforward steps:
- Initiate the base context menu by clicking on the ellipses
...located next to the base name within the left sidebar. - In the dropdown menu that appears, choose the
Duplicateoption. - Optionally, you can configure the duplication process with the following choices:
a)
Include data: You have the flexibility to choose whether to duplicate the base with or without its data. b)Include views: You can decide whether to duplicate the base with or without its views. - Click the
Confirmbutton in the confirmation modal that pops up. - A new base will be created, mirroring the original base's schema and data/views based on the configurations specified in step 3.
- A duplicate base will be generated within the same workspace as the original base.
- The duplicated base will be suffixed with
Copyin its name. - You will be designated as the
base ownerupon the duplication of the base. - Existing base members will not be transferred to the duplicated base.
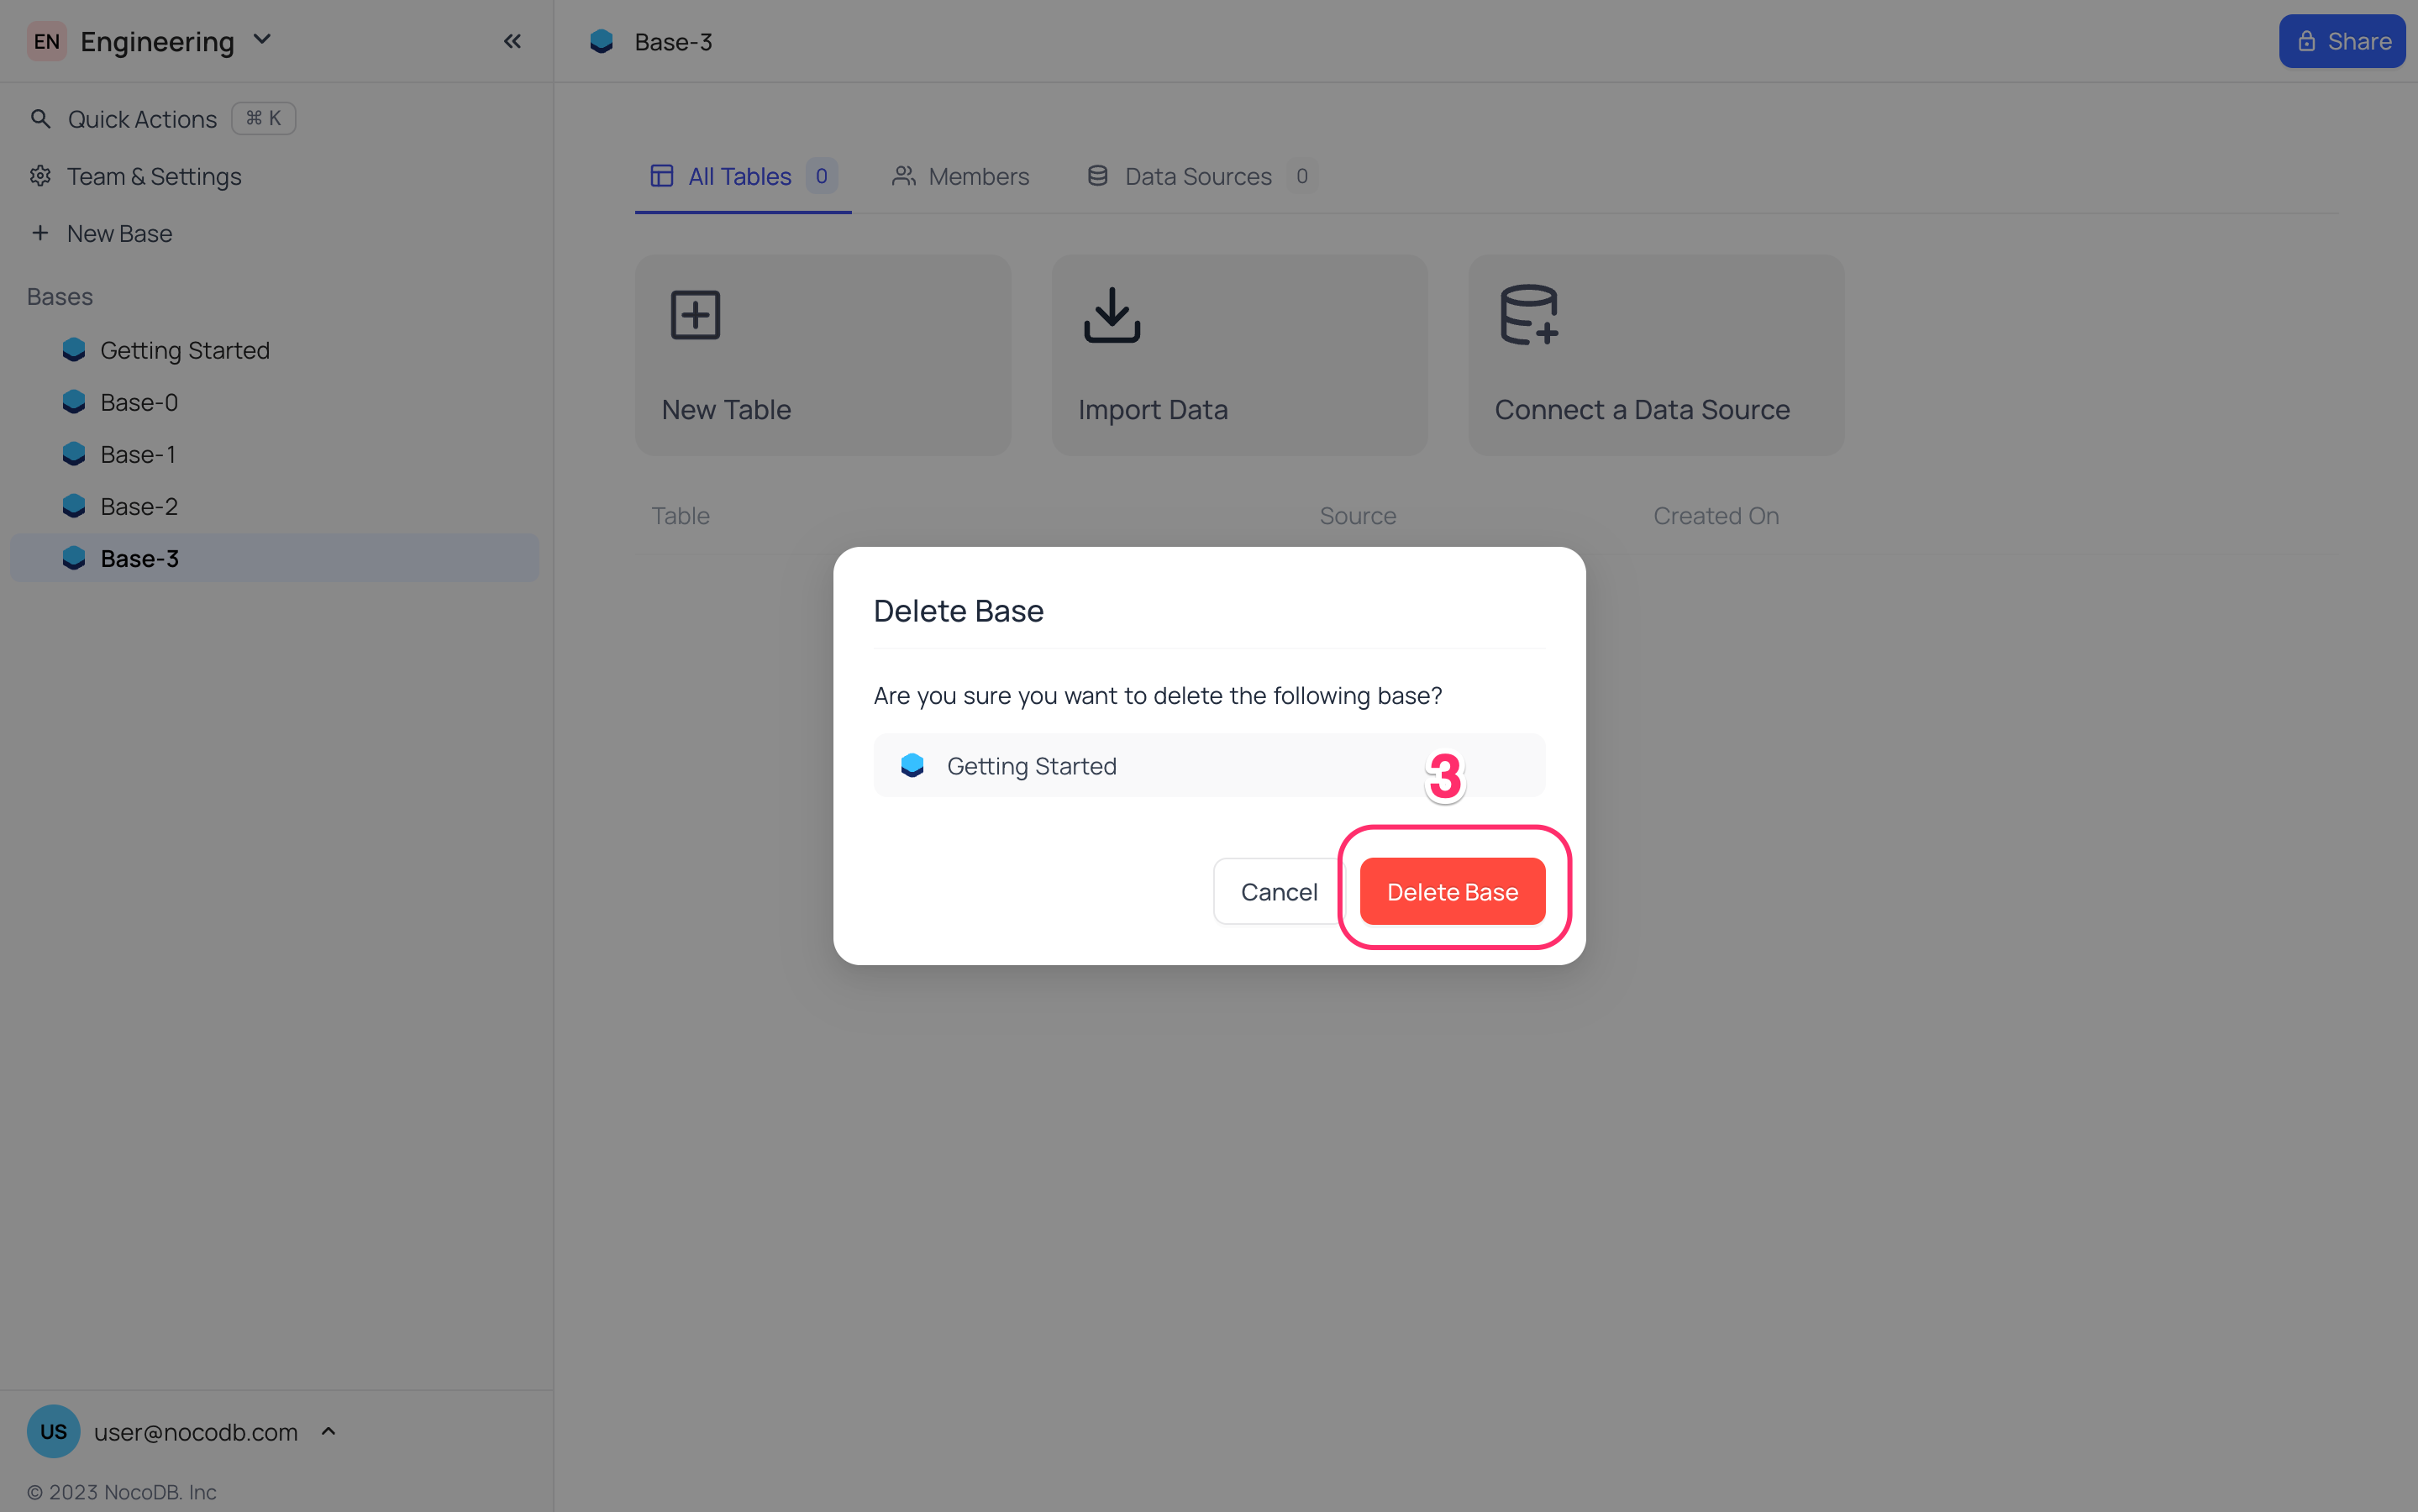
Delete base
If you determine that a base is no longer necessary, you have the option to permanently remove it from your workspace. Deleting a base will delete all the tables and data associated with it.
This action cannot be undone.
Only base owner can delete a workspace.
To delete a base:
- Initiate the base context menu by clicking on the ellipses
...located next to the base name within the left sidebar. - In the dropdown menu that appears, choose the
Deleteoption. - Select
Delete basebutton on the confirmation dialog box.
Developer features
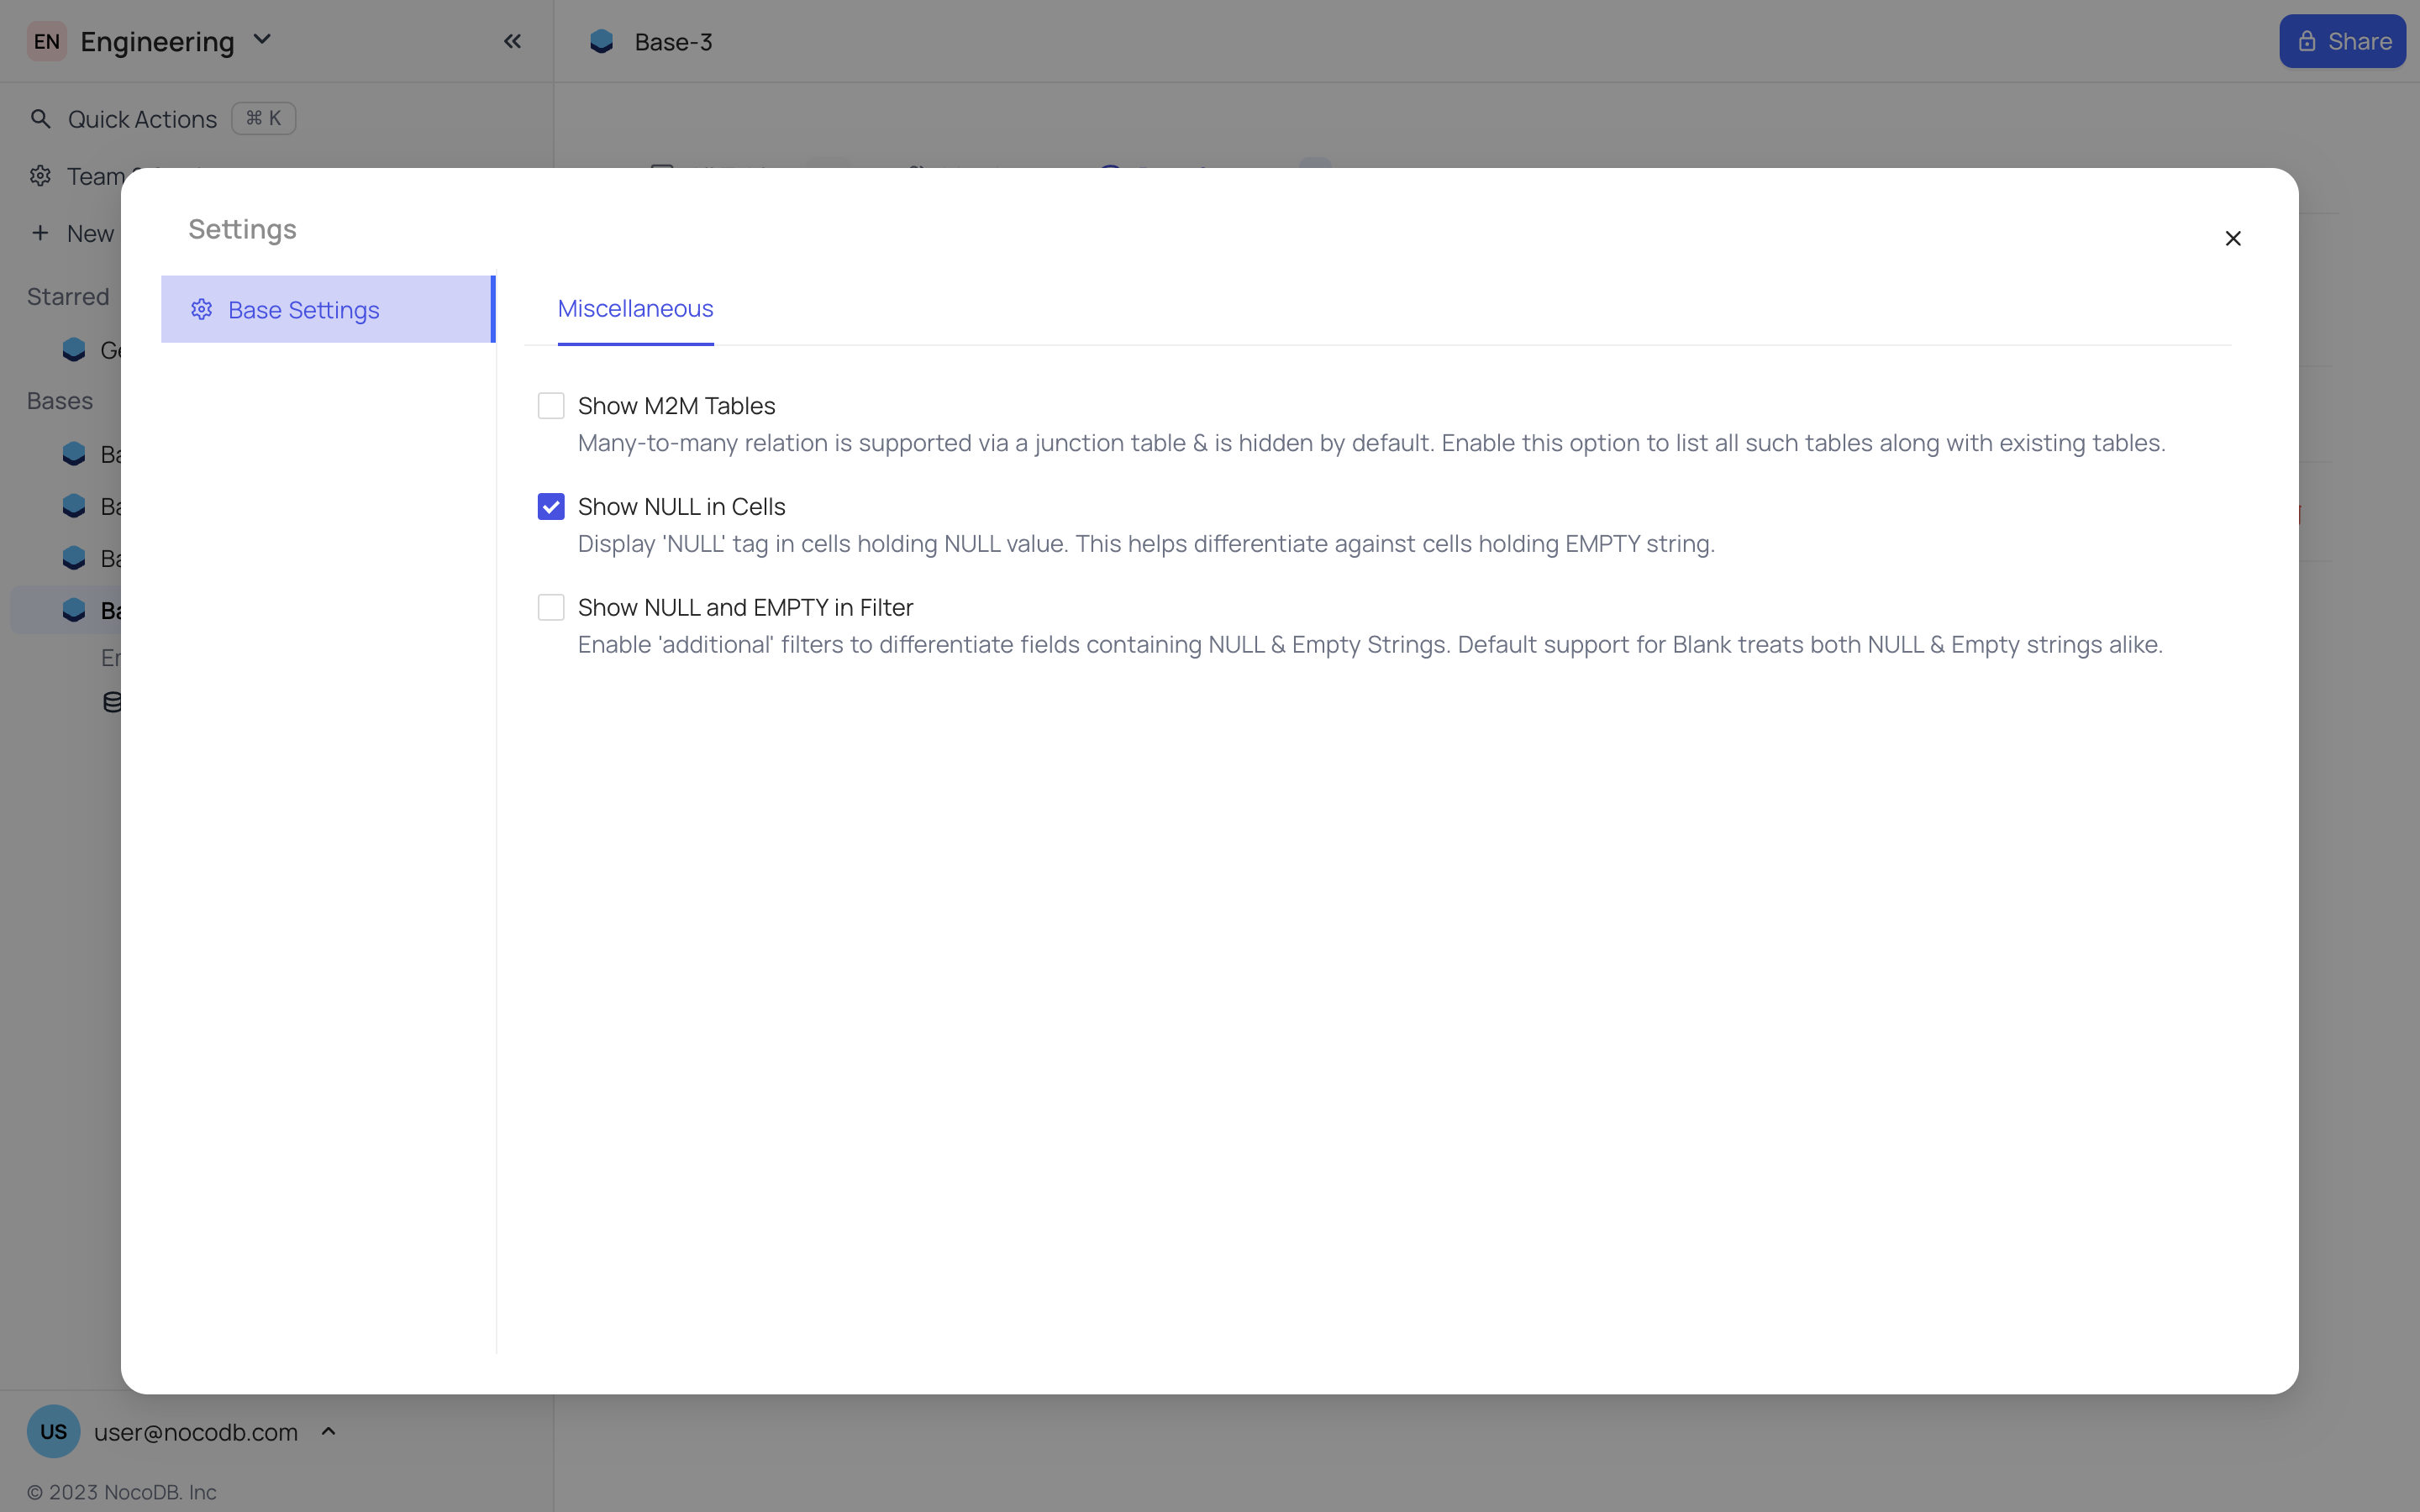
Base settings
Some general configurations are available for you to modify within the base settings.
- Show M2M tables: Toggle this option to display/hide M2M tables within the left sidebar. Many-to-many relation is supported via a junction table & is hidden by default.
- Show NULL in cells: Toggle this option to display/hide NULL values within the cells of the table. This helps differentiate against cells holding EMPTY string.
- Show NULL & Empty in Filters: Enable 'additional' filters to differentiate fields containing NULL & Empty Strings. Default support for Blank treats both NULL & Empty strings alike.
To configure base settings, you can follow these steps:
- Initiate the base context menu by clicking on the ellipses
...located next to the base name within the left sidebar. - In the dropdown menu that appears, choose the
Settingsoption.
REST APIs
NocoDB provides a Swagger UI for each base. To access the Swagger UI, follow these steps:
- Initiate the base context menu by clicking on the ellipses
...located next to the base name within the left sidebar. - In the dropdown menu that appears, choose the
REST APIsoption.

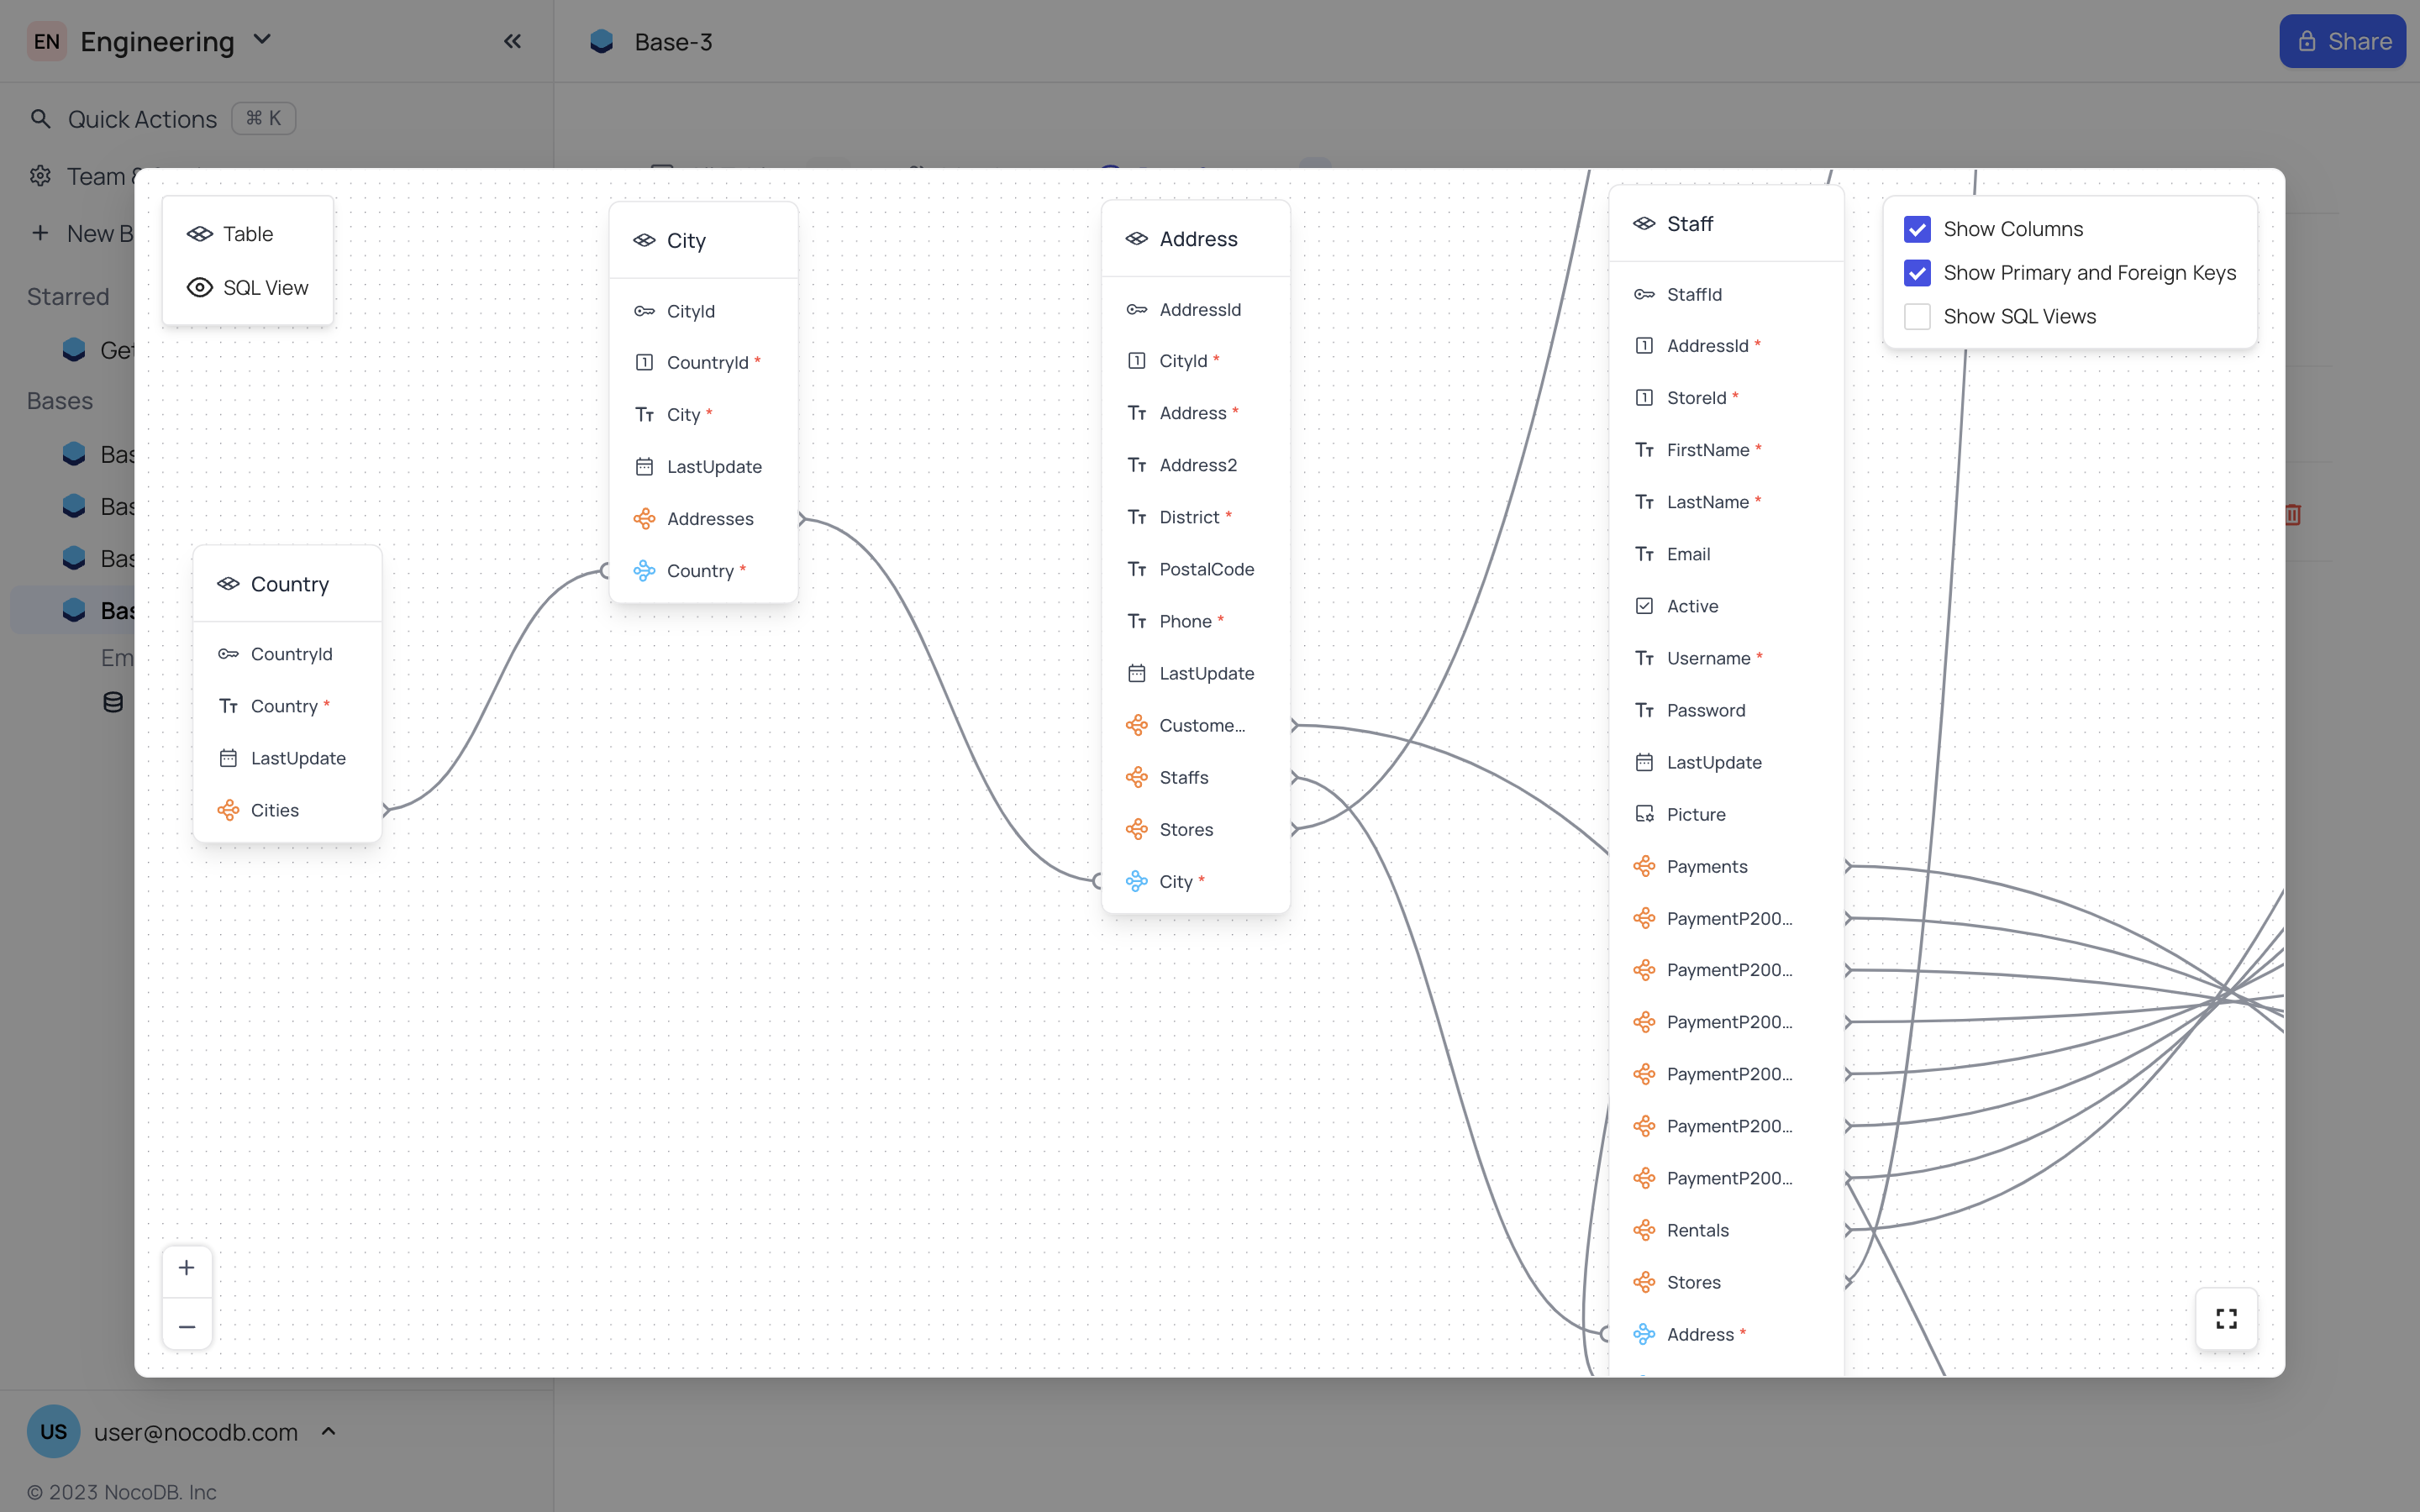
Relations
NocoDB provides a visual representation of the relations between tables within a base. To access the relations diagram, follow these steps:
- Initiate the base context menu by clicking on the ellipses
...located next to the base name within the left sidebar. - In the dropdown menu that appears, choose the
Relationsoption.