Azure AD (Entra)
info
For SSO Access - please reach out to sales team.
This article briefs about the steps to configure Active Directory as Identity service provider for NocoDB
NocoDB, Retrieve SAML SSO Configuration details
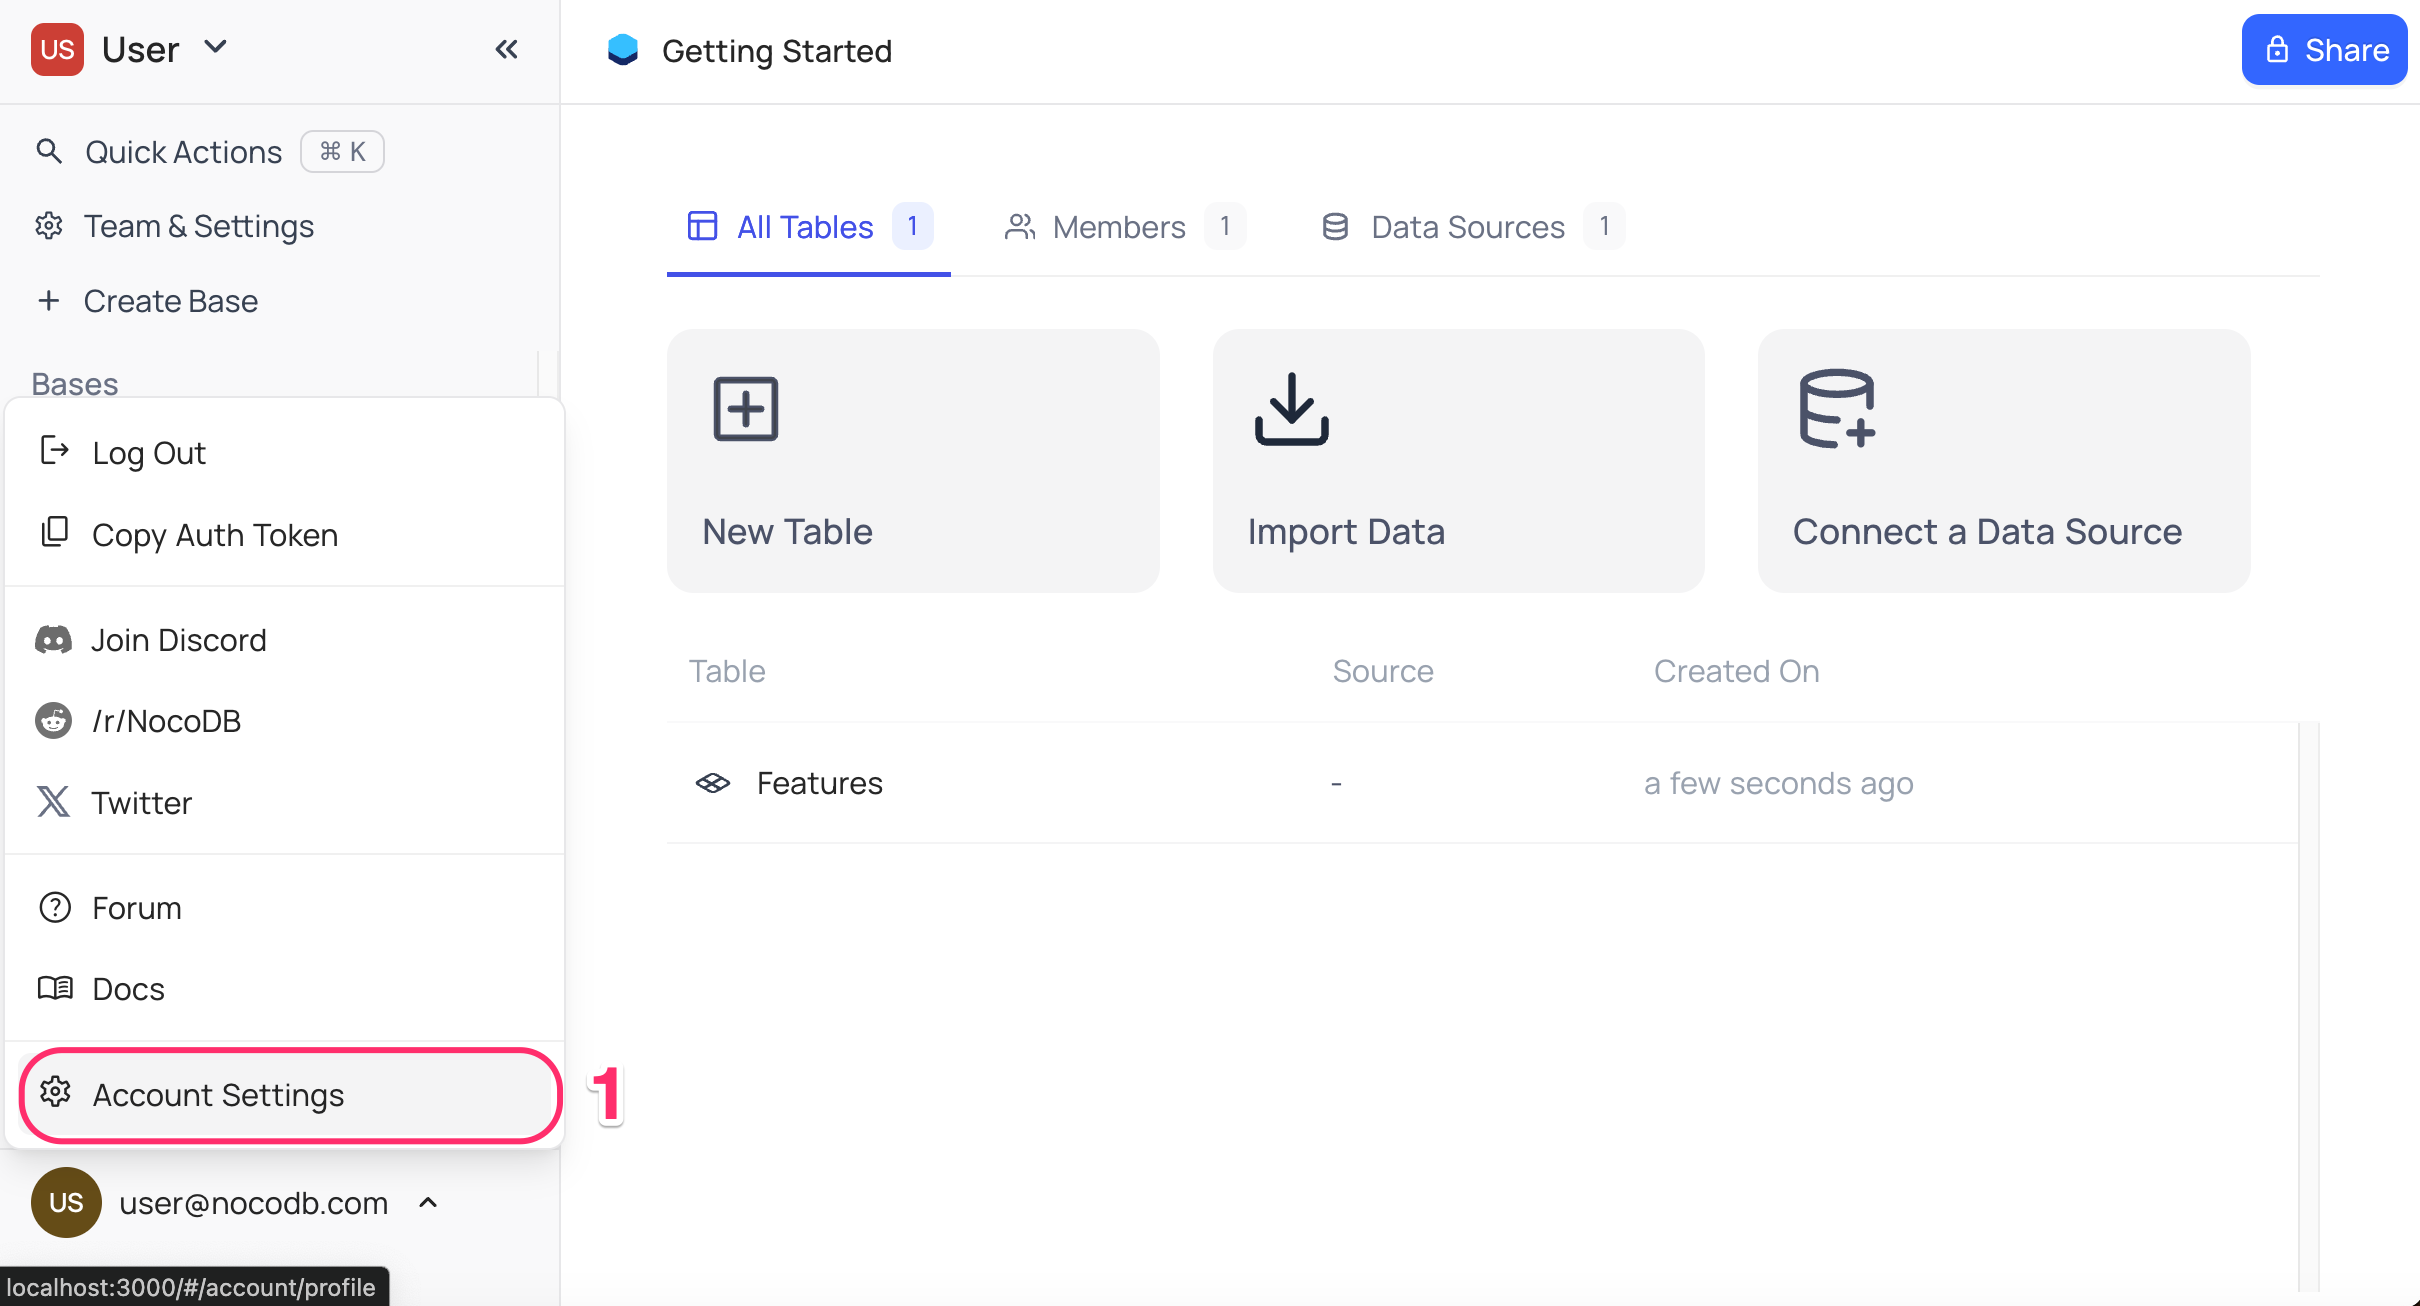
- Go to
Account Settings - Select
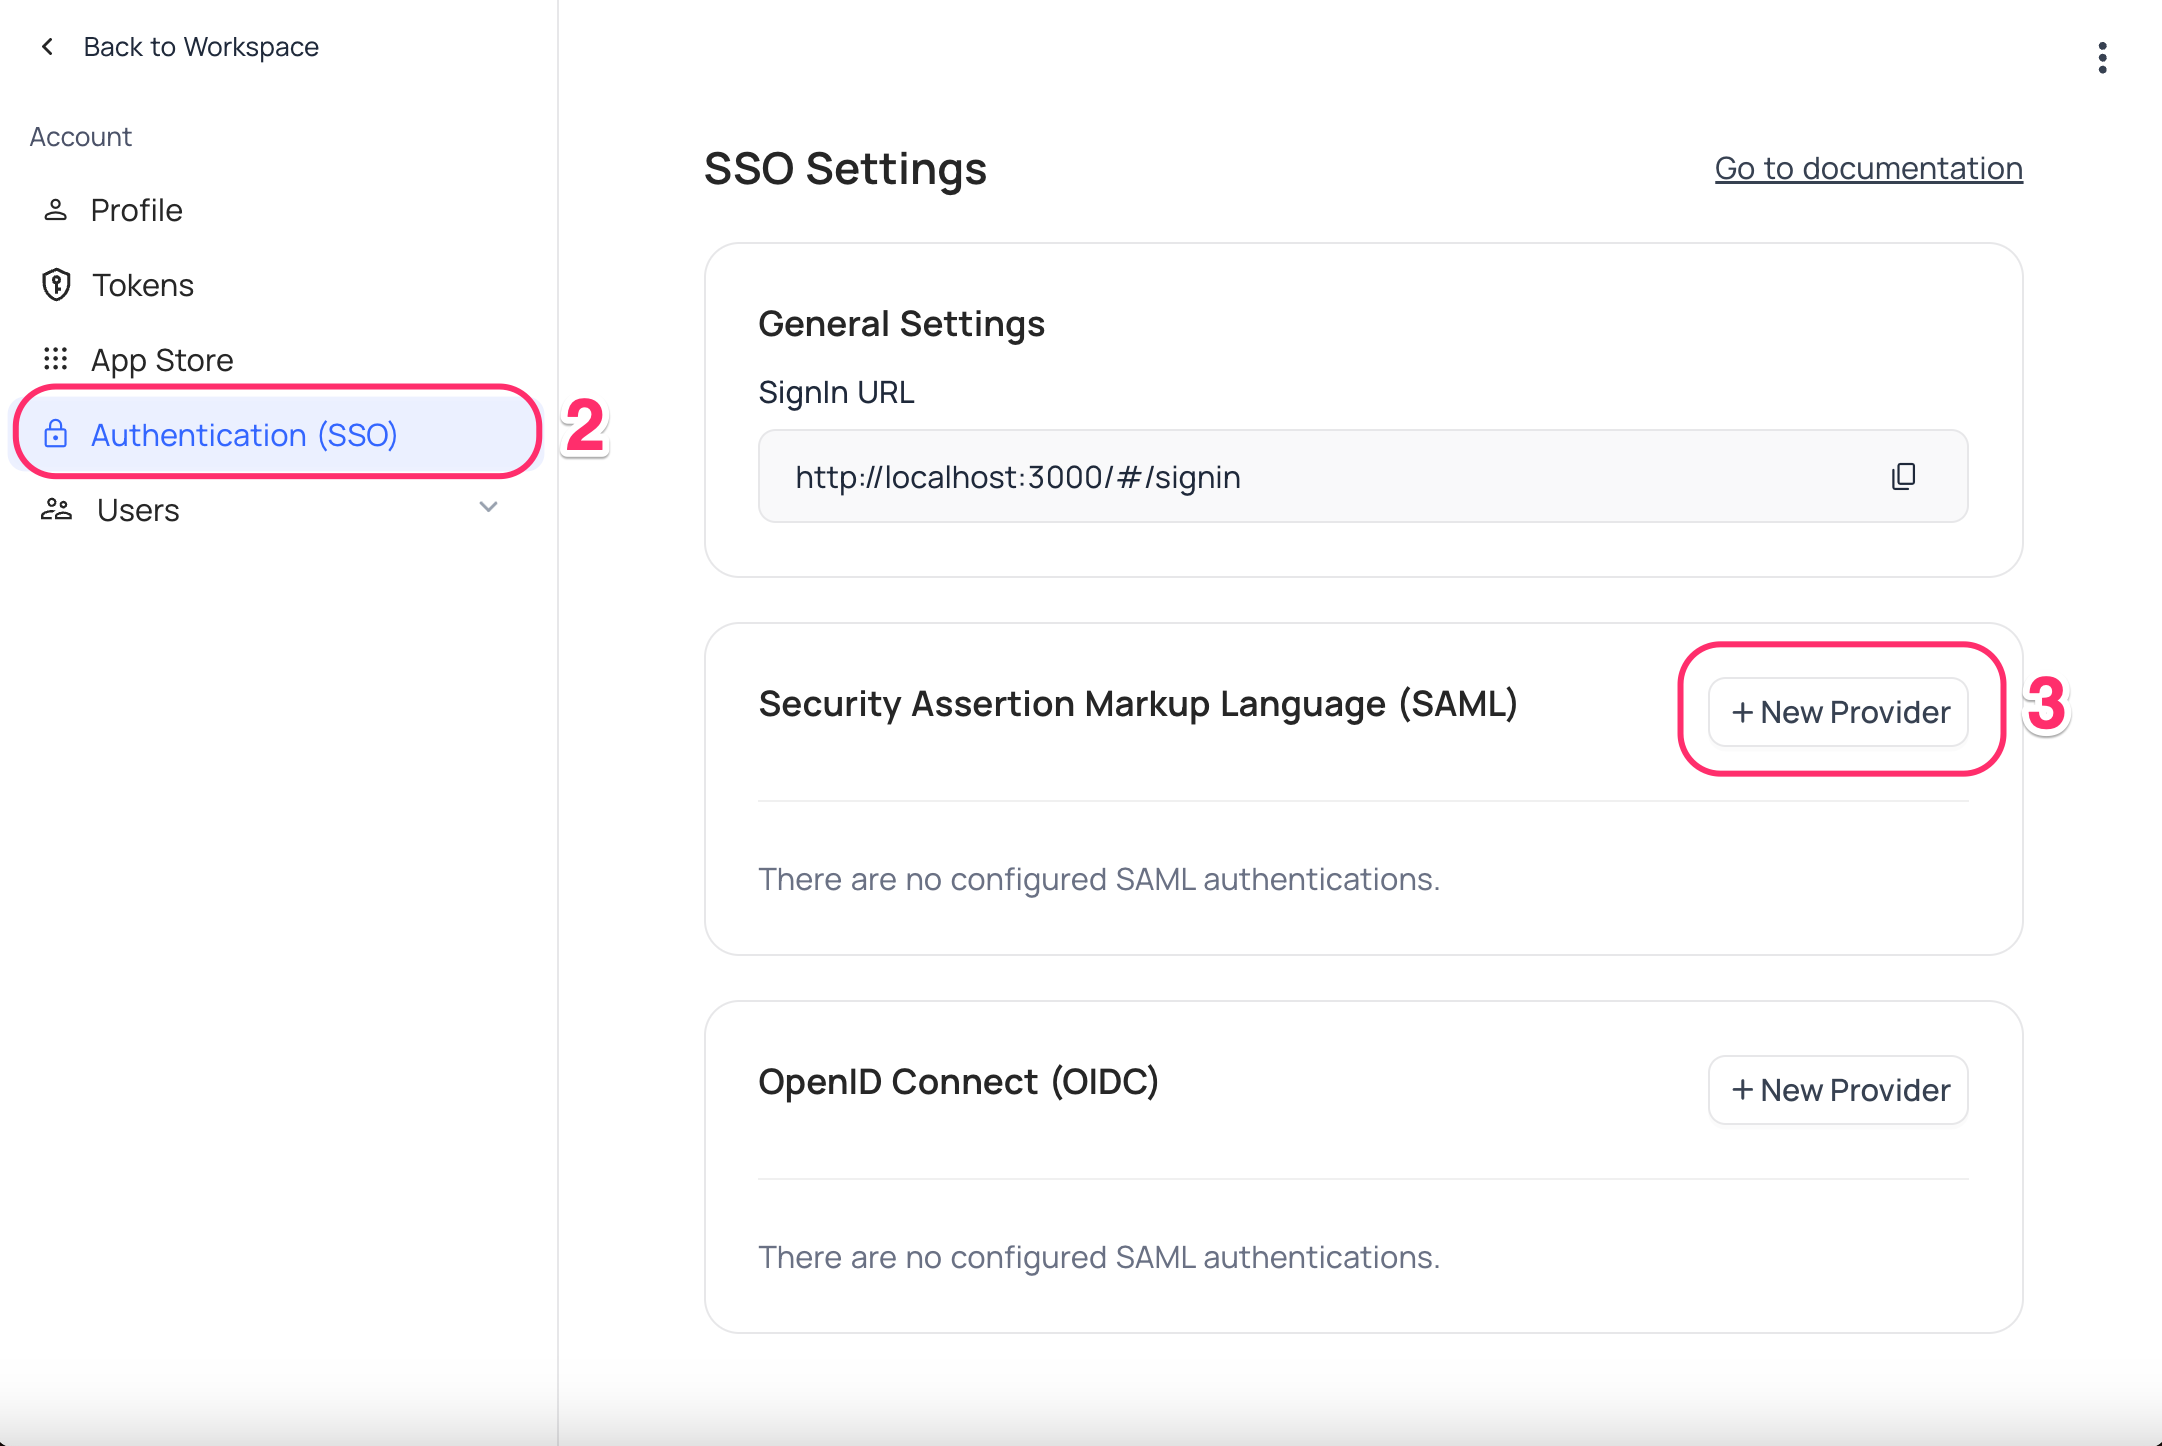
Authentication (SSO) - Click on
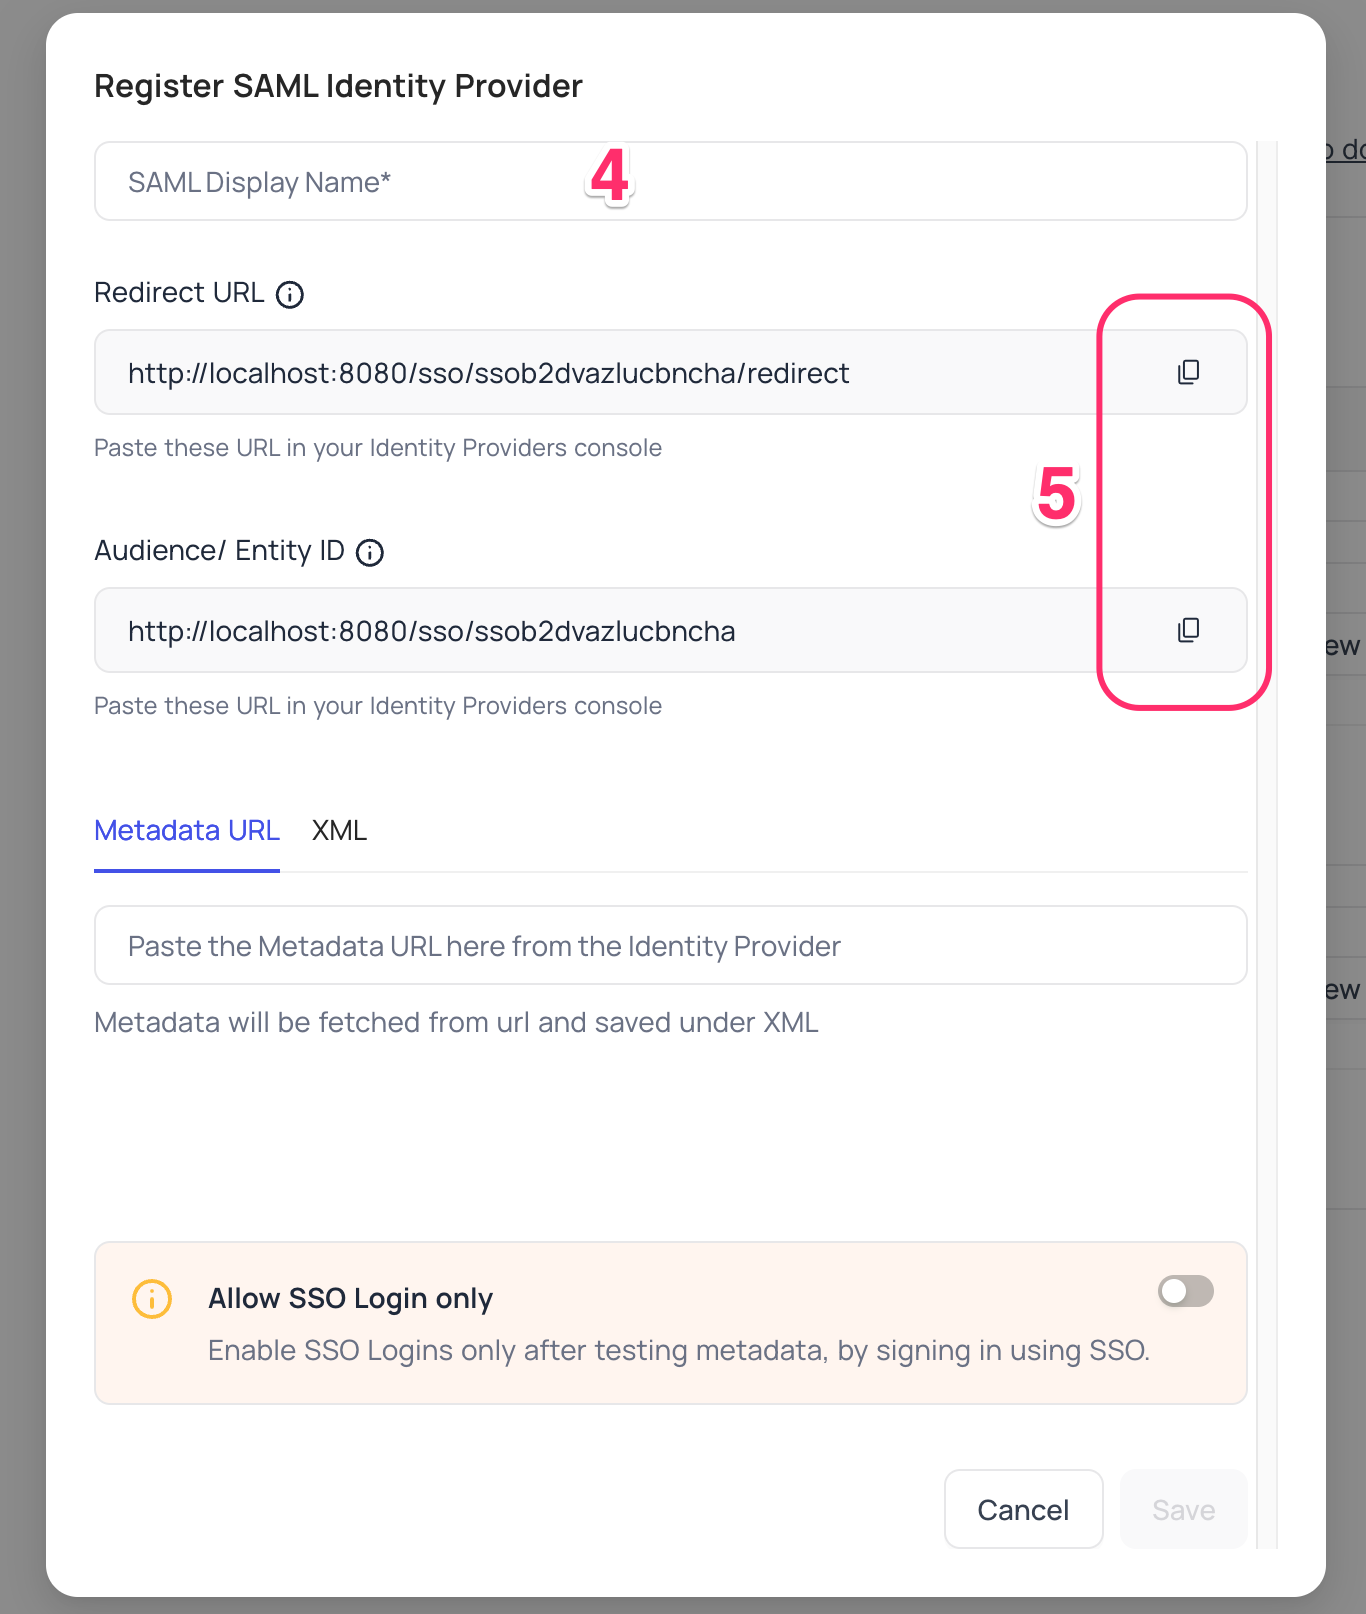
New Providerbutton - On the Popup modal, Specify a
Display namefor the provider; note that, this name will be used to display the provider on the login page - Retrieve
Redirect URL&Audience / Entity ID; these information will be required to be configured later with the Identity Provider
Azure AD, Configure NocoDB as an Application
- Sign in to your Azure account and navigate
to
Microsoft Entra admin center>Identity>Enterprise applications - Click
+ New application - On the
Browse Microsoft Entra Gallerypage, selectCreate your own applicationfrom the navigation bar.- Provide your application's name.
- Choose
Integrate any other application you don't find in the gallery (Non-gallery) Create
- On your application page, navigate to
Manage>Single sign-on>SAML - Go to the
Basic SAML Configurationsection underSet up Single Sign-On with SAMLand clickEdit- Add the
Audience URIunderIdentifier (Entity ID). - Add the
Redirect URLunderReplay URL (Assertion Consumer Service URL). - Click
Save
- Add the
- In the
Attributes & Claimssection, clickEdit- Edit the "Unique User Identifier (Name ID)" claim:
- Select
Email addressfrom theName identifier formatdropdown - Choose
Attributeas theSource - In the
Source attribute, selectuser.mail - Click
Save
- Select
- Edit the "Unique User Identifier (Name ID)" claim:
- Go to the
SAML Certificatessection and copy theApp Federation Metadata URL - on the Application's Overview page,
- Click
Users and groups, - Add the necessary users or groups to the application.
- Click
NocoDB, Configure Azure AD as an Identity Provider
- Go to
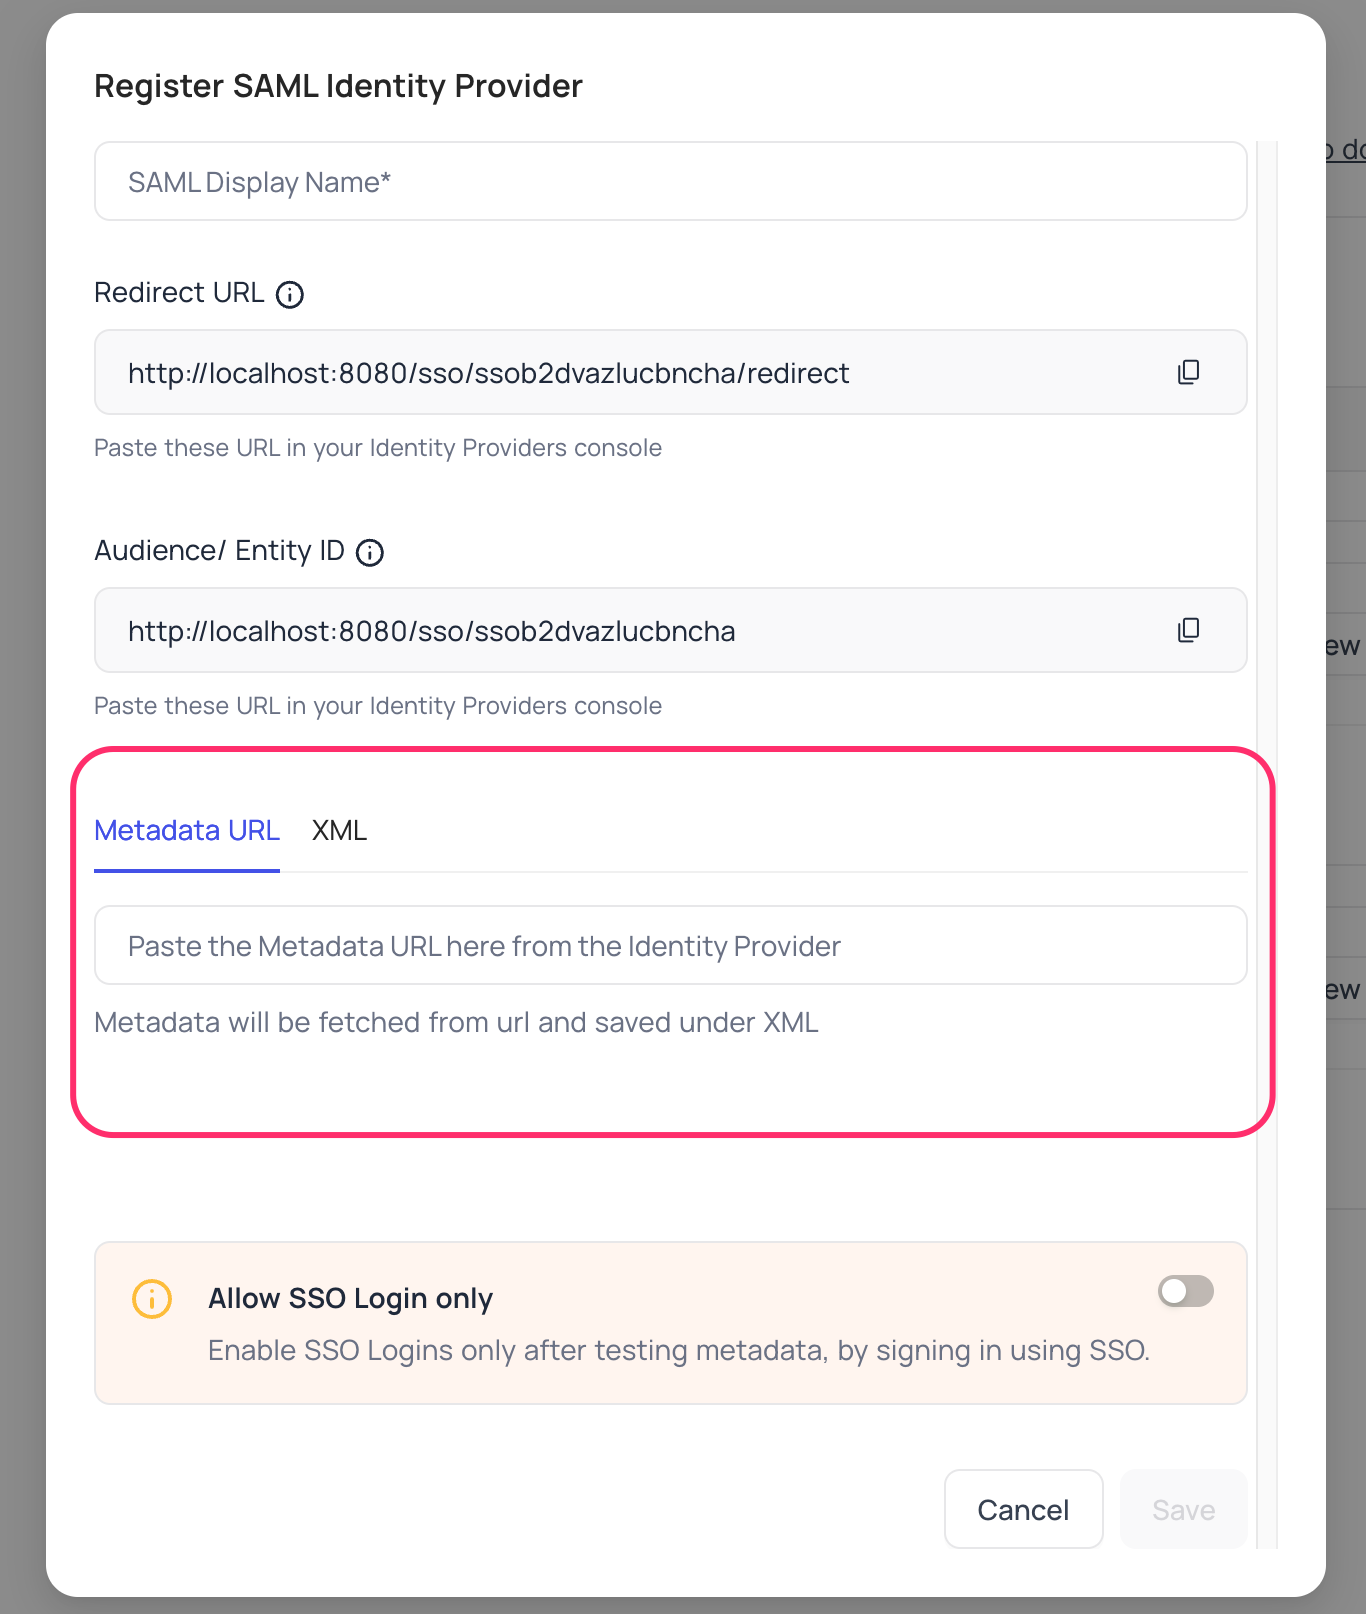
Account Settings>Authentication>SAML - Insert
Metadata URLretrieved in step above; alternatively you can configure XML directly as well Save
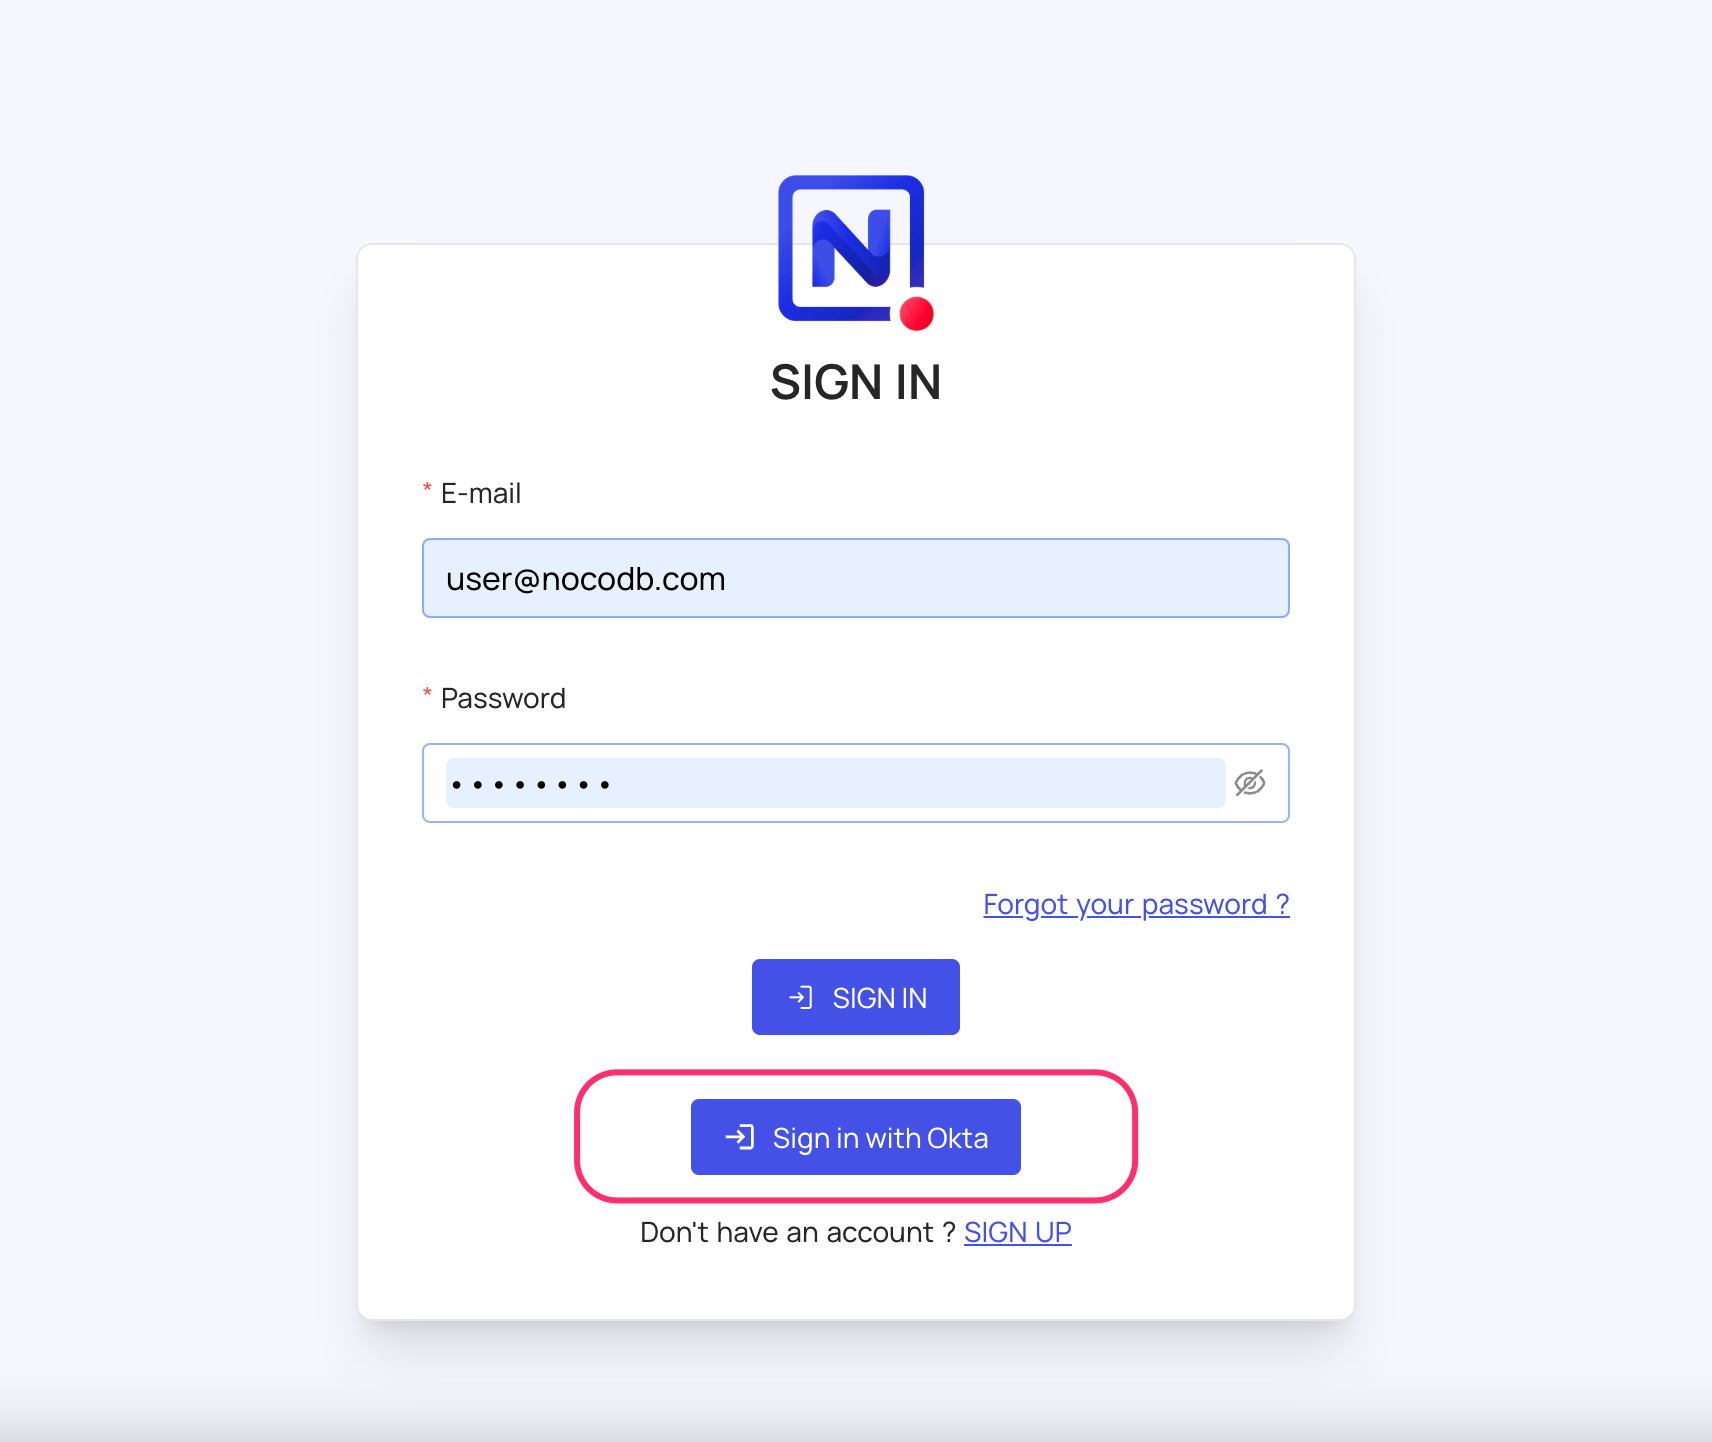
For Sign-in's, user should be able to now see Sign in with <SSO> option.
note
Post sign-out, refresh page (for the first time) if you do not see Sign in with <SSO> option