Auto-Upstall
Auto-upstall is the fastest way to install NocoDB with SSL, auto-upgrades with every release, and auto-renews your SSL — all within just 2 minutes!
bash <(curl -sSL http://install.nocodb.com/noco.sh) <(mktemp)
Notes on Auto-Upstall
Auto-upstall is a single command that:
- 🐳 First Automatically installs all pre-requisites on your linux based server (docker, docker-compose)
- 🚀 Then automatically installs
- 🇳 NocoDB,
- 🐘 PostgreSQL,
- ⚡ Redis,
- 🗄 Minio,
- 🌐 Traefik gateway.
- 🔄 Also automatically upgrades NocoDB when new versions are available.
- 🔒 And finally automatically sets up SSL that auto-renews!
Installation Video
Quick installation guide
This is quick walkthrough of how to install NocoDB using auto-upstall script.
- Step 1 : 🔐 SSH into your server (Linux-based system - Ubuntu, Debian, CentOS etc.)
- Step 2 : 🚀 Run the below command :
bash <(curl -sSL http://install.nocodb.com/noco.sh) <(mktemp) - Step 3 : 🌐 Open your browser and go to URL
- For 🌍 HTTP:
http://<your-domain-or-ip> - For 🔒 HTTPS:
https://<your-domain-or-ip>
- For 🌍 HTTP:
- Step 4 : 🐦 Don't keep the command a secret. Tweet how easy it is. This step is a must!
You can find the install.nocodb.com/noco.sh script on our GitHub here.
Detailed installation guide
-
Run the following command in your terminal:
bash <(curl -sSL http://install.nocodb.com/noco.sh) <(mktemp) -
Follow the installation prompts
- Domain name: Enter the IP address or domain name for your NocoDB instance.
- SSL configuration: If you entered a valid domain name, you'll be asked if you want to configure SSL.
- Advanced options: You can choose to show advanced options or use default settings.
-
Advanced options (if chosen):
- Choose between community (CE) or enterprise edition (EE)
- Enter license key (for EE)
- Enable/disable Redis for caching
- Enable/disable Minio for file storage
- Configure Minio domain and SSL
- Enable/disable Watchtower for automatic updates
- Set the number of NocoDB instances to run
-
Wait for installation to complete - takes about 2-5 minutes. Once done, you'll see a success message with the URL to access your NocoDB instance.
-
Access NocoDB
Open the URL provided in your browser to access NocoDB. -
Congratulations! You should now have a working installation of NocoDB. Enjoy using your new no-code database platform!
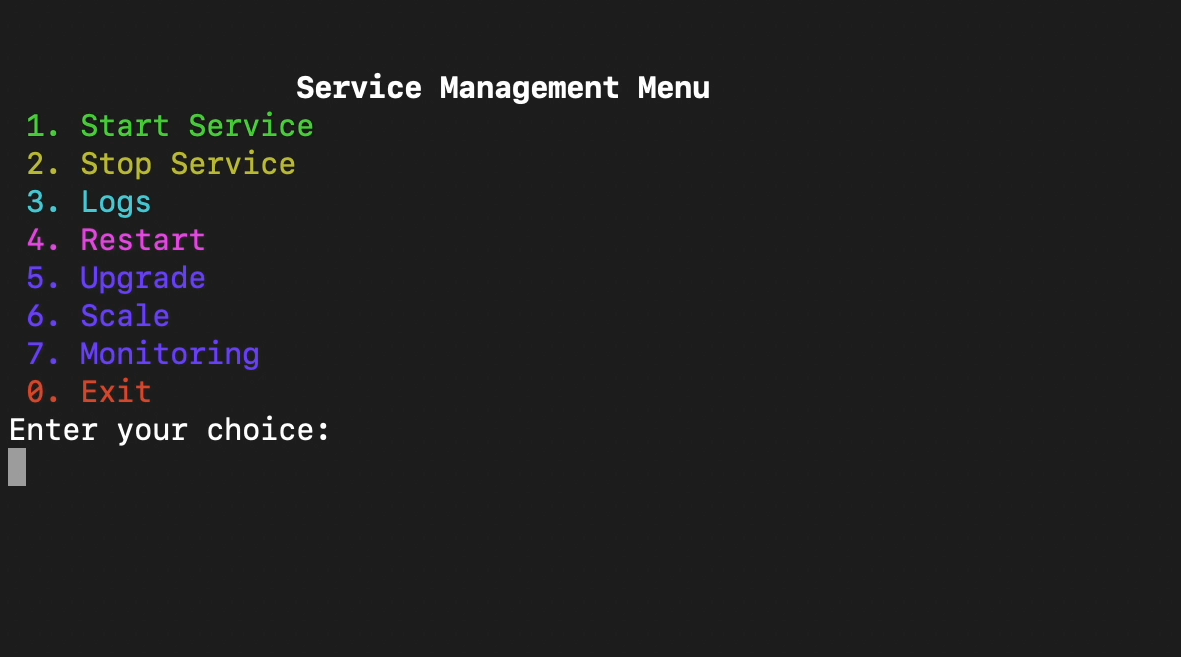
Installation management menu
After installation, you'll be asked if you want to start the management menu. This menu allows you to:
- Start NocoDB
- Stop NocoDB
- View logs
- Restart NocoDB
- Upgrade NocoDB
- Scale NocoDB (change the number of running instances)
- Monitor NocoDB (view Docker stats)
Additional Notes
- The script creates an update.sh file in the installation directory. You can use this to update NocoDB in the future.
- If you encounter any issues during installation, check the logs for error messages.