Installation
Simple installation - takes about three minutes!
Prerequisites
Quick try
Docker
If you are a Docker user, you may try this way!
- SQLite
- Postgres
docker run -d --name nocodb \
-v "$(pwd)"/nocodb:/usr/app/data/ \
-p 8080:8080 \
nocodb/nocodb:latest
docker run -d --name nocodb-postgres \
-v "$(pwd)"/nocodb:/usr/app/data/ \
-p 8080:8080 \
-e NC_DB="pg://host.docker.internal:5432?u=root&p=password&d=d1" \
-e NC_AUTH_JWT_SECRET="569a1821-0a93-45e8-87ab-eb857f20a010" \
nocodb/nocodb:latest
To persist data in docker you can mount volume at /usr/app/data/ since 0.10.6. In older version mount at /usr/src/app. Otherwise your data will be lost after recreating the container.
Docker Compose
We provide different docker-compose.yml files under this directory. Here are some examples.
- Postgres
git clone https://github.com/nocodb/nocodb
cd nocodb/docker-compose/pg
docker-compose up -d
To persist data in docker you can mount volume at /usr/app/data/ since 0.10.6. In older version mount at /usr/src/app.
Homebrew
brew tap nocodb/nocodb
brew install nocodb
nocodb
Executables
You can download executables directly and run without any extra dependancy. Use the right command based on your platform.
MacOS (x64)
curl http://get.nocodb.com/macos-x64 -o nocodb -L \
  && chmod +x nocodb \
  && ./nocodb
MacOS (arm64)
curl http://get.nocodb.com/macos-arm64 -o nocodb -L \
  && chmod +x nocodb \
  && ./nocodb
Linux (x64)
curl http://get.nocodb.com/linux-x64 -o nocodb -L \
  && chmod +x nocodb \
  && ./nocodb
Linux (arm64)
curl http://get.nocodb.com/linux-arm64 -o nocodb -L \
  && chmod +x nocodb \
  && ./nocodb
Windows (x64)
iwr http://get.nocodb.com/win-x64.exe
.\Noco-win-x64.exe
Windows (arm64)
iwr http://get.nocodb.com/win-arm64.exe
.\Noco-win-arm64.exe
Node Application
We provide a simple NodeJS Application for getting started.
git clone https://github.com/nocodb/nocodb-seed
cd nocodb-seed
npm install
npm start
AWS ECS (Fargate)
Click to Expand
Create ECS Cluster
aws ecs create-cluster \
--cluster-name <YOUR_ECS_CLUSTER>
Create Log group
aws logs create-log-group \
--log-group-name /ecs/<YOUR_APP_NAME>/<YOUR_CONTAINER_NAME>
Create ECS Task Definiton
Every time you create it, it will add a new version. If it is not existing, the version will be 1.
aws ecs register-task-definition \
--cli-input-json "file://./<YOUR_TASK_DEF_NAME>.json"
This json file defines the container specification. You can define secrets such as NC_DB and environment variables here.
Here's the sample Task Definition
{
  "family": "nocodb-sample-task-def",
  "networkMode": "awsvpc",
  "containerDefinitions": [{
    "name": "<YOUR_CONTAINER_NAME>",
    "image": "nocodb/nocodb:latest",
    "essential": true,
    "logConfiguration": {
      "logDriver": "awslogs",
      "options": {
        "awslogs-group": "/ecs/<YOUR_APP_NAME>/<YOUR_CONTAINER_NAME>",
        "awslogs-region": "<YOUR_AWS_REGION>",
        "awslogs-stream-prefix": "ecs"
      }
    },
    "secrets": [{
      "name": "<YOUR_SECRETS_NAME>",
      "valueFrom": "<YOUR_SECRET_ARN>"
    }],
    "environment": [{
      "name": "<YOUR_ENV_VARIABLE_NAME>",
      "value": "<YOUR_ENV_VARIABLE_VALUE>"
    }],
    "portMappings": [{
      "containerPort": 8080,
      "hostPort": 8080,
      "protocol": "tcp"
    }]
  }],
  "requiresCompatibilities": [
    "FARGATE"
  ],
  "cpu": "256",
  "memory": "512",
  "executionRoleArn": "<YOUR_ECS_EXECUTION_ROLE_ARN>",
  "taskRoleArn": "<YOUR_ECS_TASK_ROLE_ARN>"
}
Create ECS Service
aws ecs create-service \
--cluster <YOUR_ECS_CLUSTER> \
--service-name  <YOUR_SERVICE_NAME> \
--task-definition <YOUR_TASK_DEF>:<YOUR_TASK_DEF_VERSION> \
--desired-count <DESIRED_COUNT> \
--launch-type "FARGATE" \
--platform-version <VERSION> \
--health-check-grace-period-seconds <GRACE_PERIOD_IN_SECOND> \
--network-configuration "awsvpcConfiguration={subnets=["<YOUR_SUBSETS>"], securityGroups=["<YOUR_SECURITY_GROUPS>"], assignPublicIp=ENABLED}" \
--load-balancer targetGroupArn=<TARGET_GROUP_ARN>,containerName=<CONTAINER_NAME>,containerPort=<YOUR_CONTAINER_PORT>
If your service fails to start, you may check the logs in ECS console or in Cloudwatch. Generally it fails due to the connection between ECS container and NC_DB. Make sure the security groups have the correct inbound and outbound rules.
GCP (Cloud Run)
Click to Expand
Pull NocoDB Image on Cloud Shell
Since Cloud Run only supports images from Google Container Registry (GCR) or Artifact Registry, we need to pull NocoDB image, tag it and push it in GCP using Cloud Shell. Here are some sample commands which you can execute in Cloud Shell.
# pull latest NocoDB image
docker pull nocodb/nocodb:latest

# tag the image
docker tag nocodb/nocodb:latest gcr.io/<MY_PROJECT_ID>/nocodb/nocodb:latest

# push the image to GCR
docker push gcr.io/<MY_PROJECT_ID>/nocodb/nocodb:latest
Deploy NocoDB on Cloud Run
gcloud run deploy --image=gcr.io/<MY_PROJECT_ID>/nocodb/nocodb:latest \
                  --region=us-central1 \
                  --allow-unauthenticated \
                  --platform=managed
DigitalOcean (App)
Click to Expand
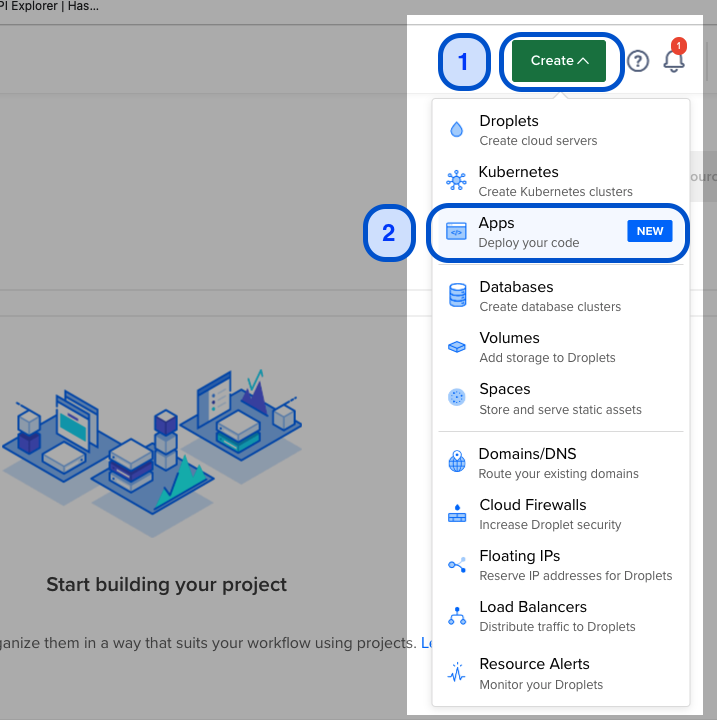
Create Apps
On Home page, Click on Create icon & Select Apps (Deploy your code).
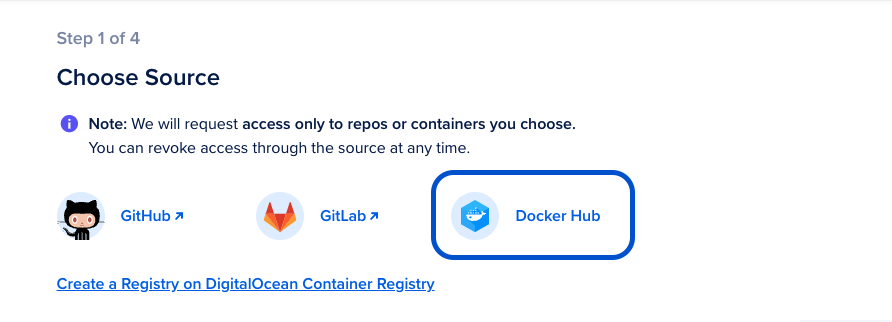
Choose Source: Docker Hub
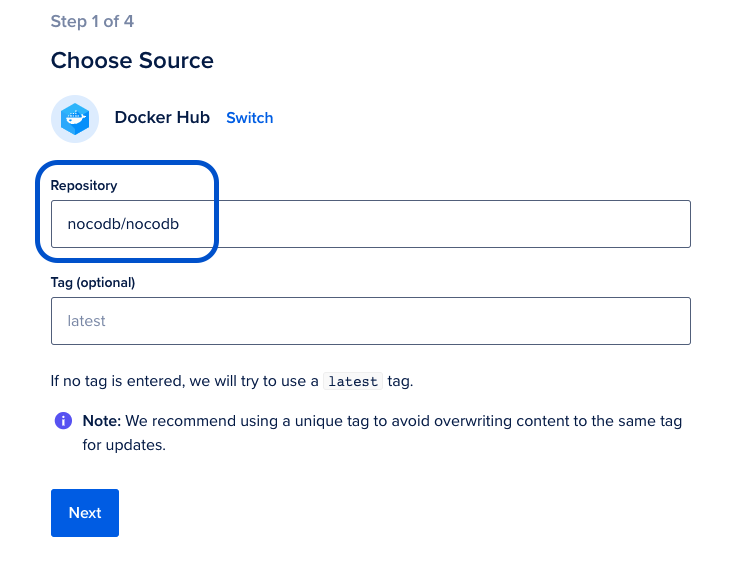
Choose Source: Repository
Configure Source Repository as nocodb/nocodb. Optionally you can pick release tag if you are interested in specific NocoDB version.
[Optional] Additional Configurations
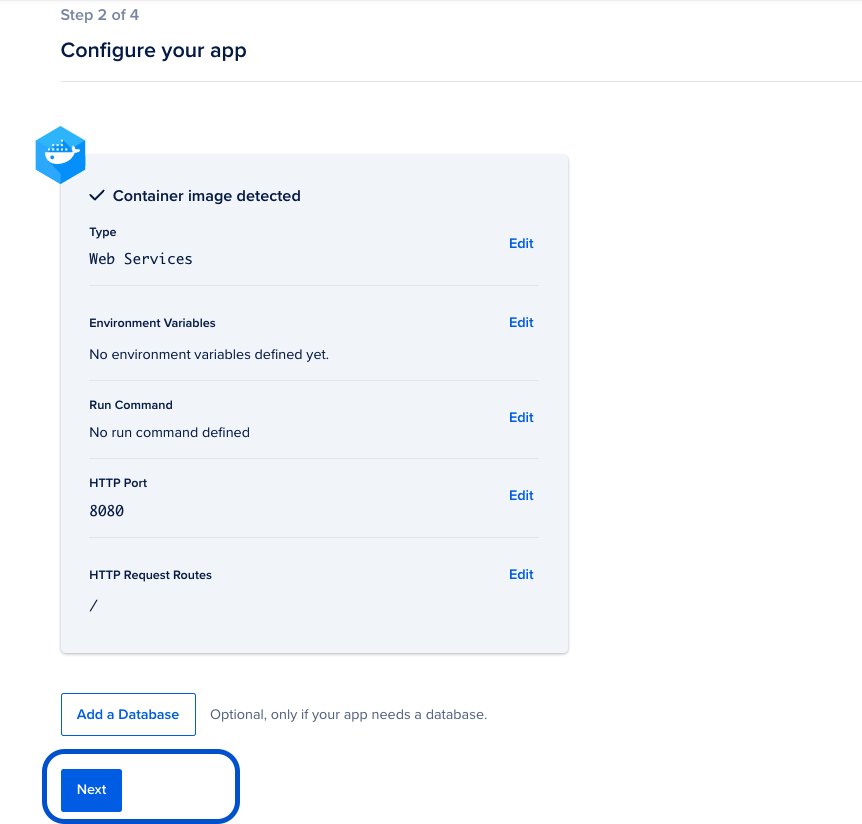
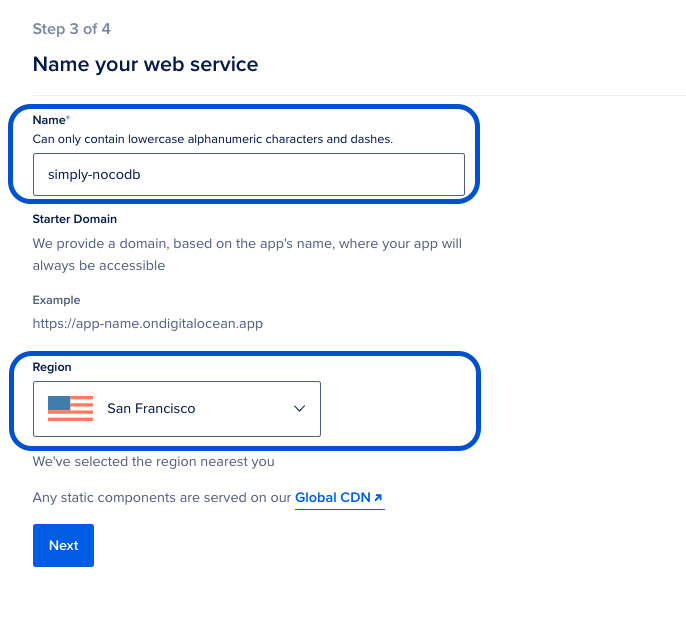
Name your web service
Pick a name for your NocoDB application. This name will become part of URL subsequently
Pick nearest Region for cloud hosting
Finalize and Launch
-
Select hosting plan for your NocoDB application
-
Click "Launch APP"
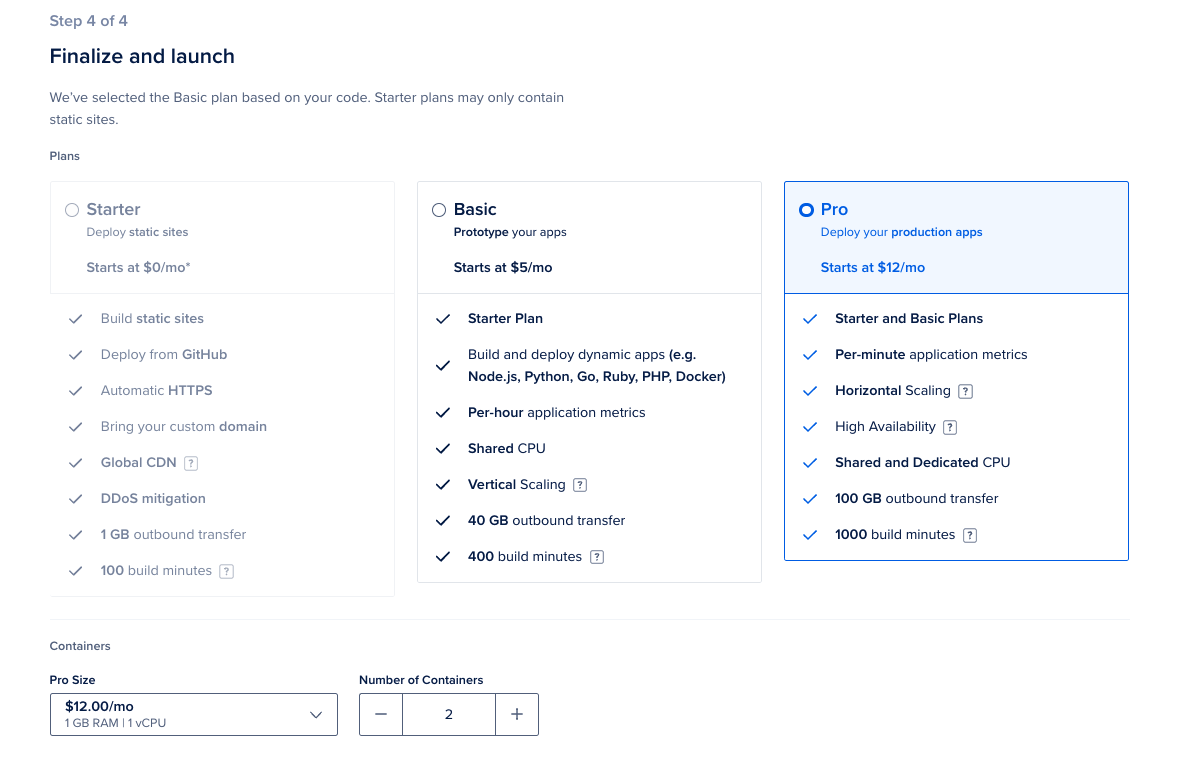
Application will be build & URL will be live in a minute! The URL will be something like https://simply-nocodb-rsyir.ondigitalocean.app/
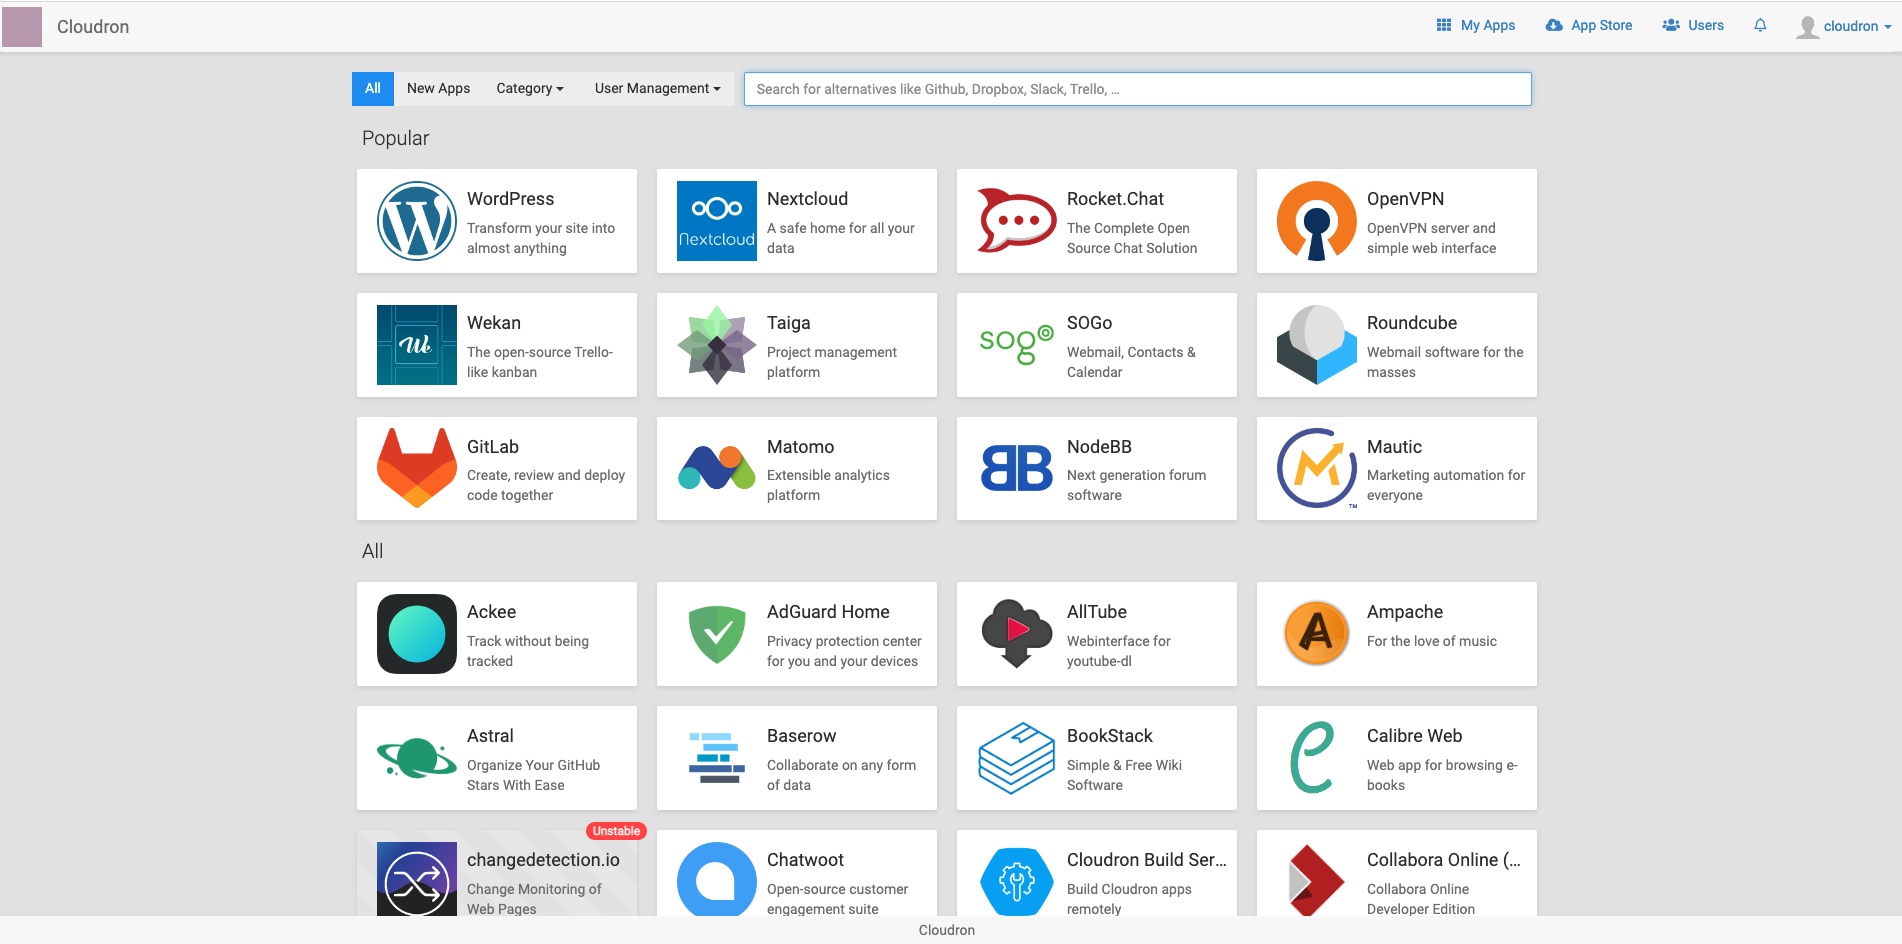
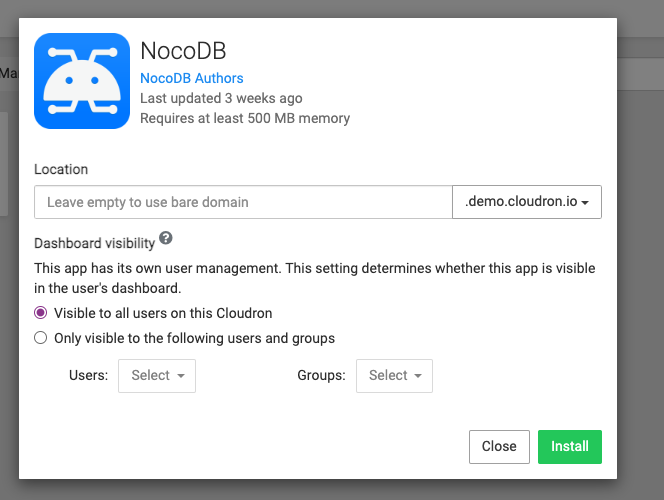
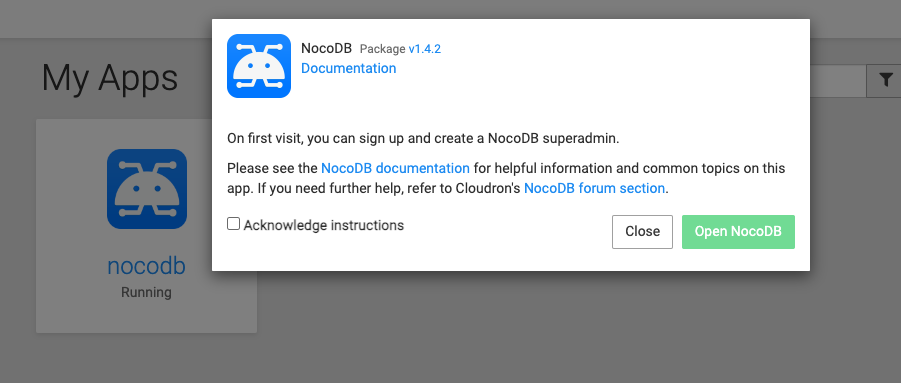
Cloudron
Click to Expand


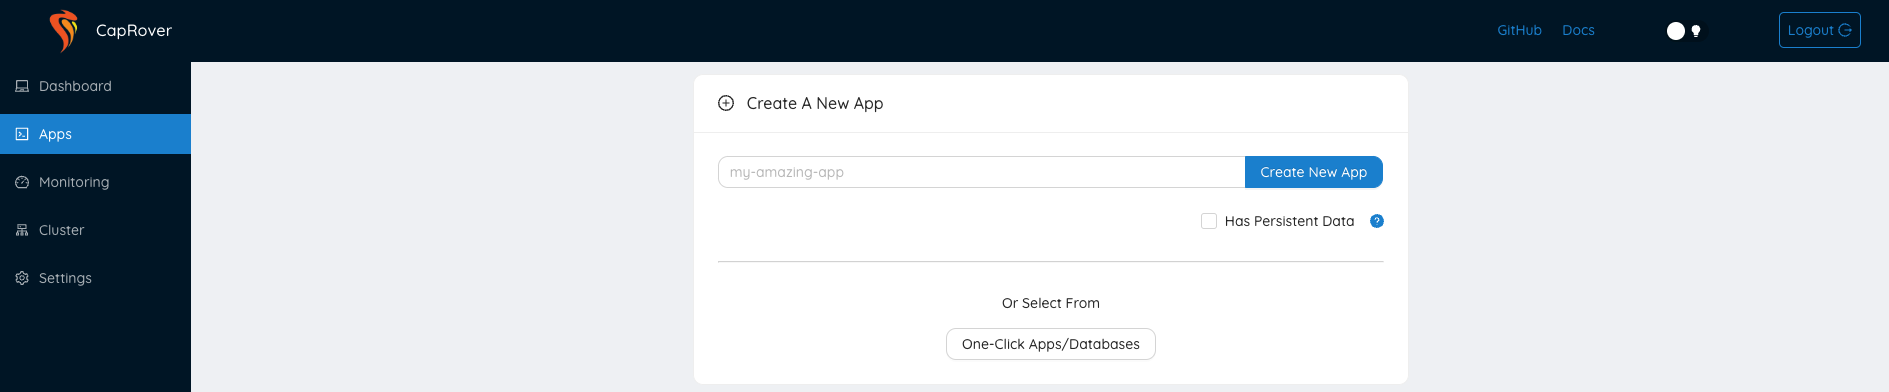
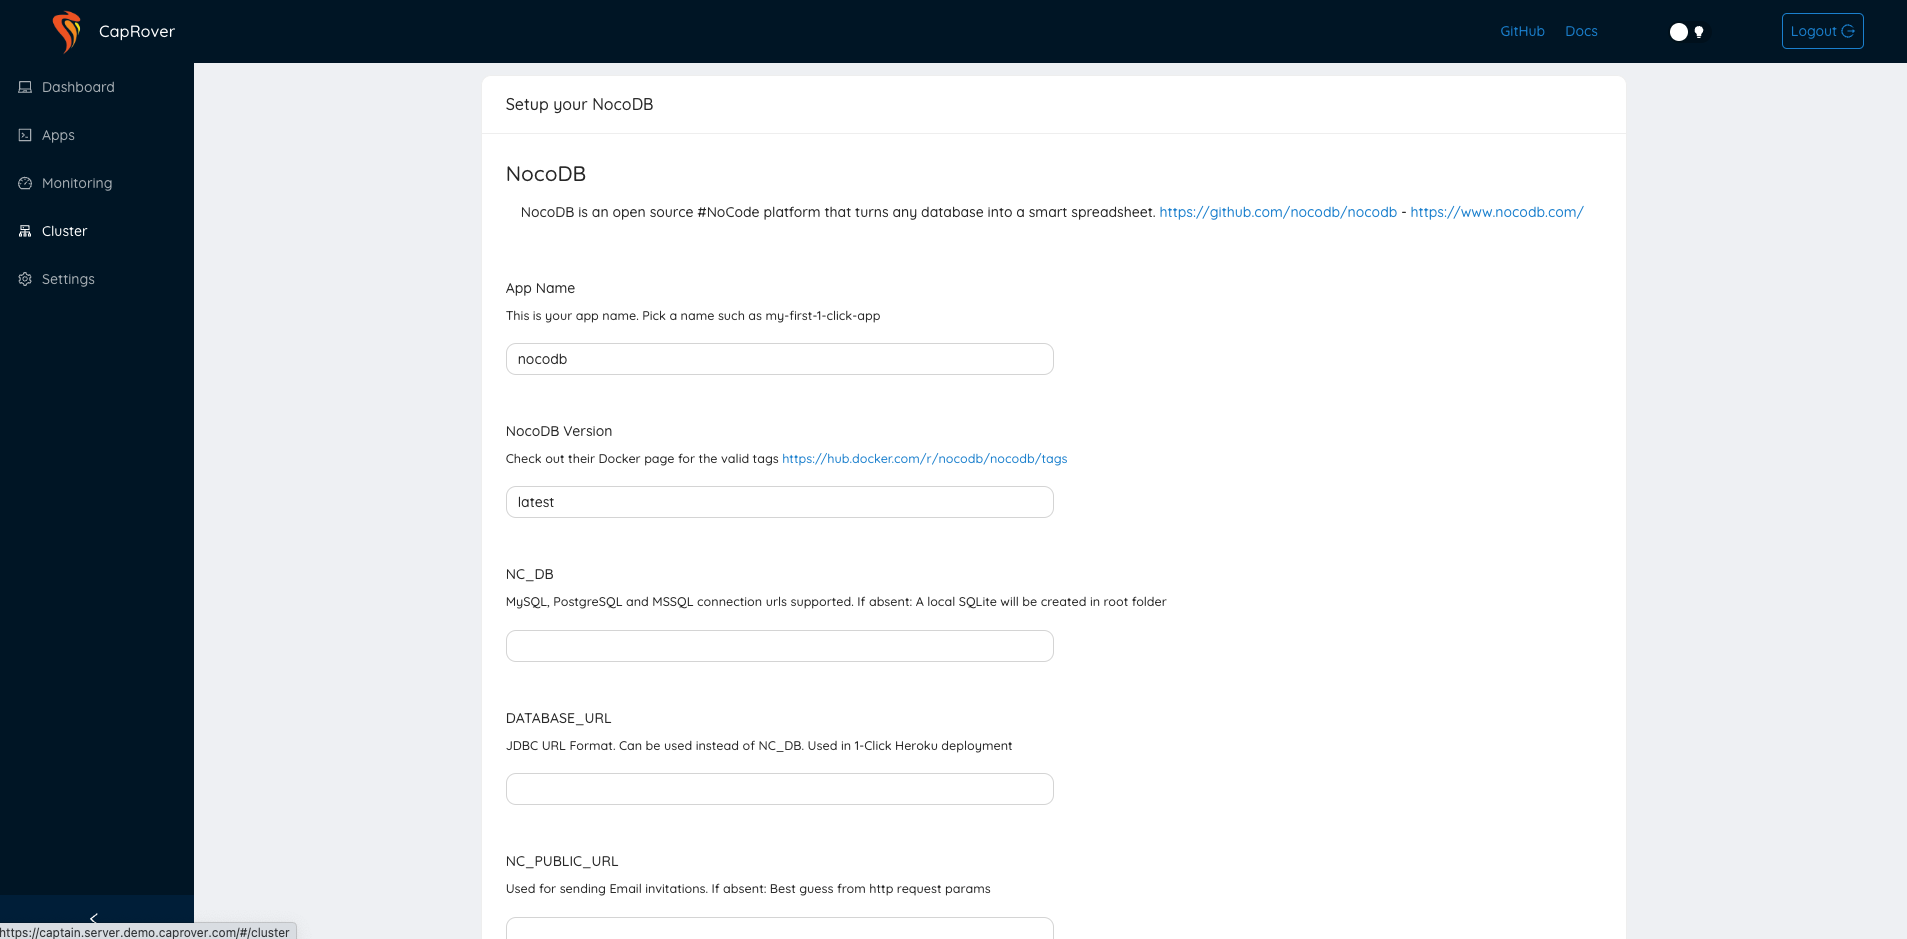
CapRover
Click to Expand

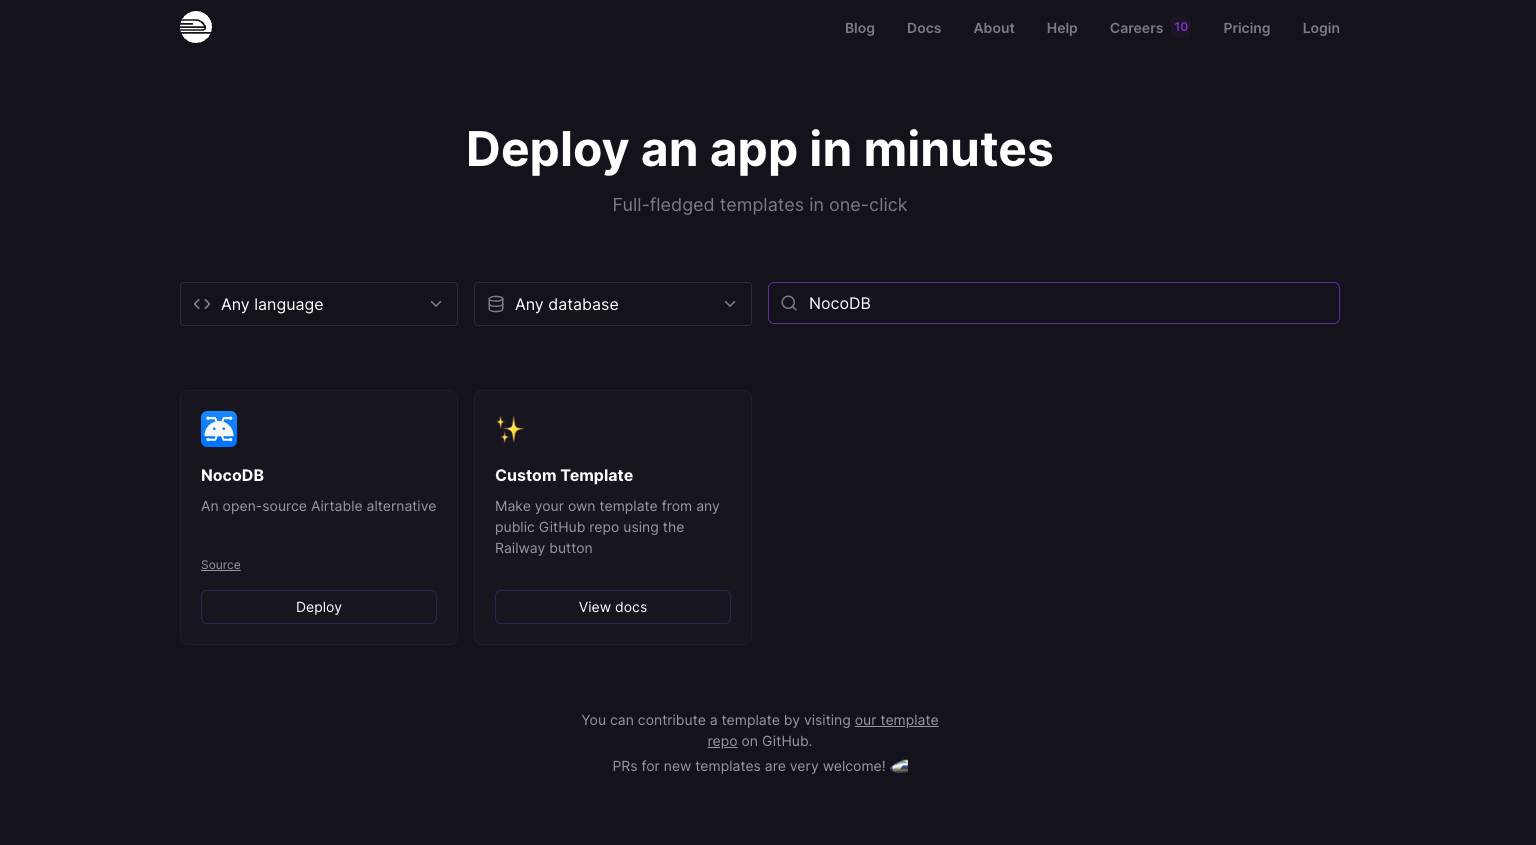
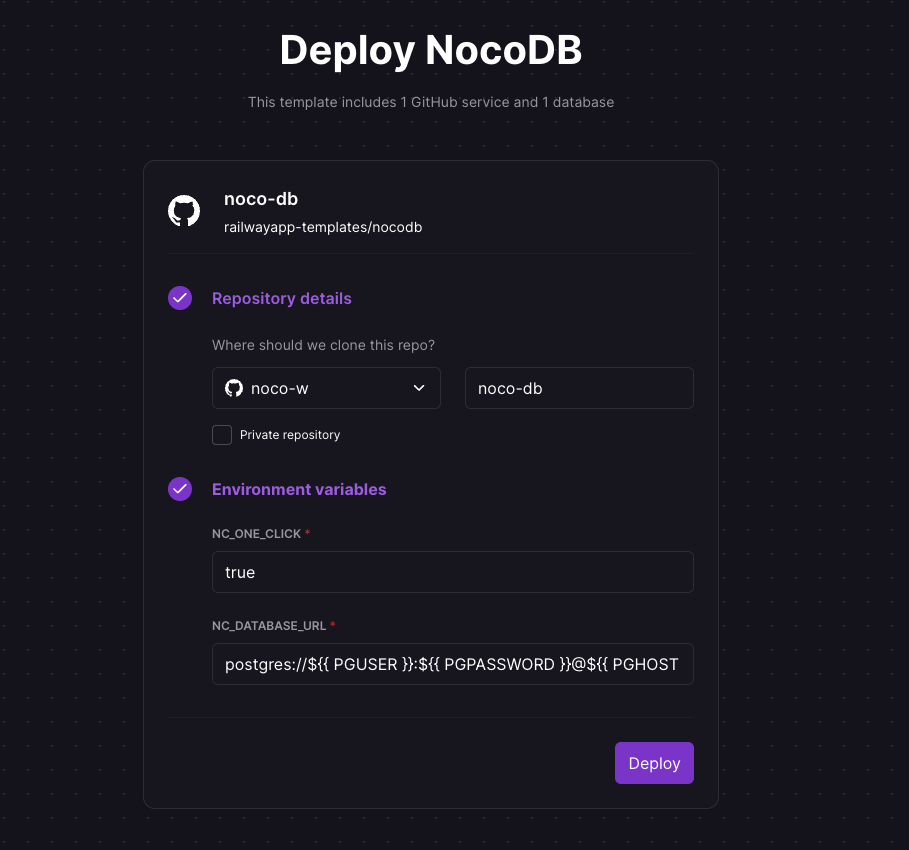
Railway
Click to Expand
FreeBSD / FreeNAS / TrueNAS Jail
See here provided by C. R. Zamana.